This delicious healthy Cottage Cheese Cheesecake recipe is 250 calories per slice and includes 13 grams of protein. Made with simple ingredients and a health-conscious way of getting your cheesecake fix!
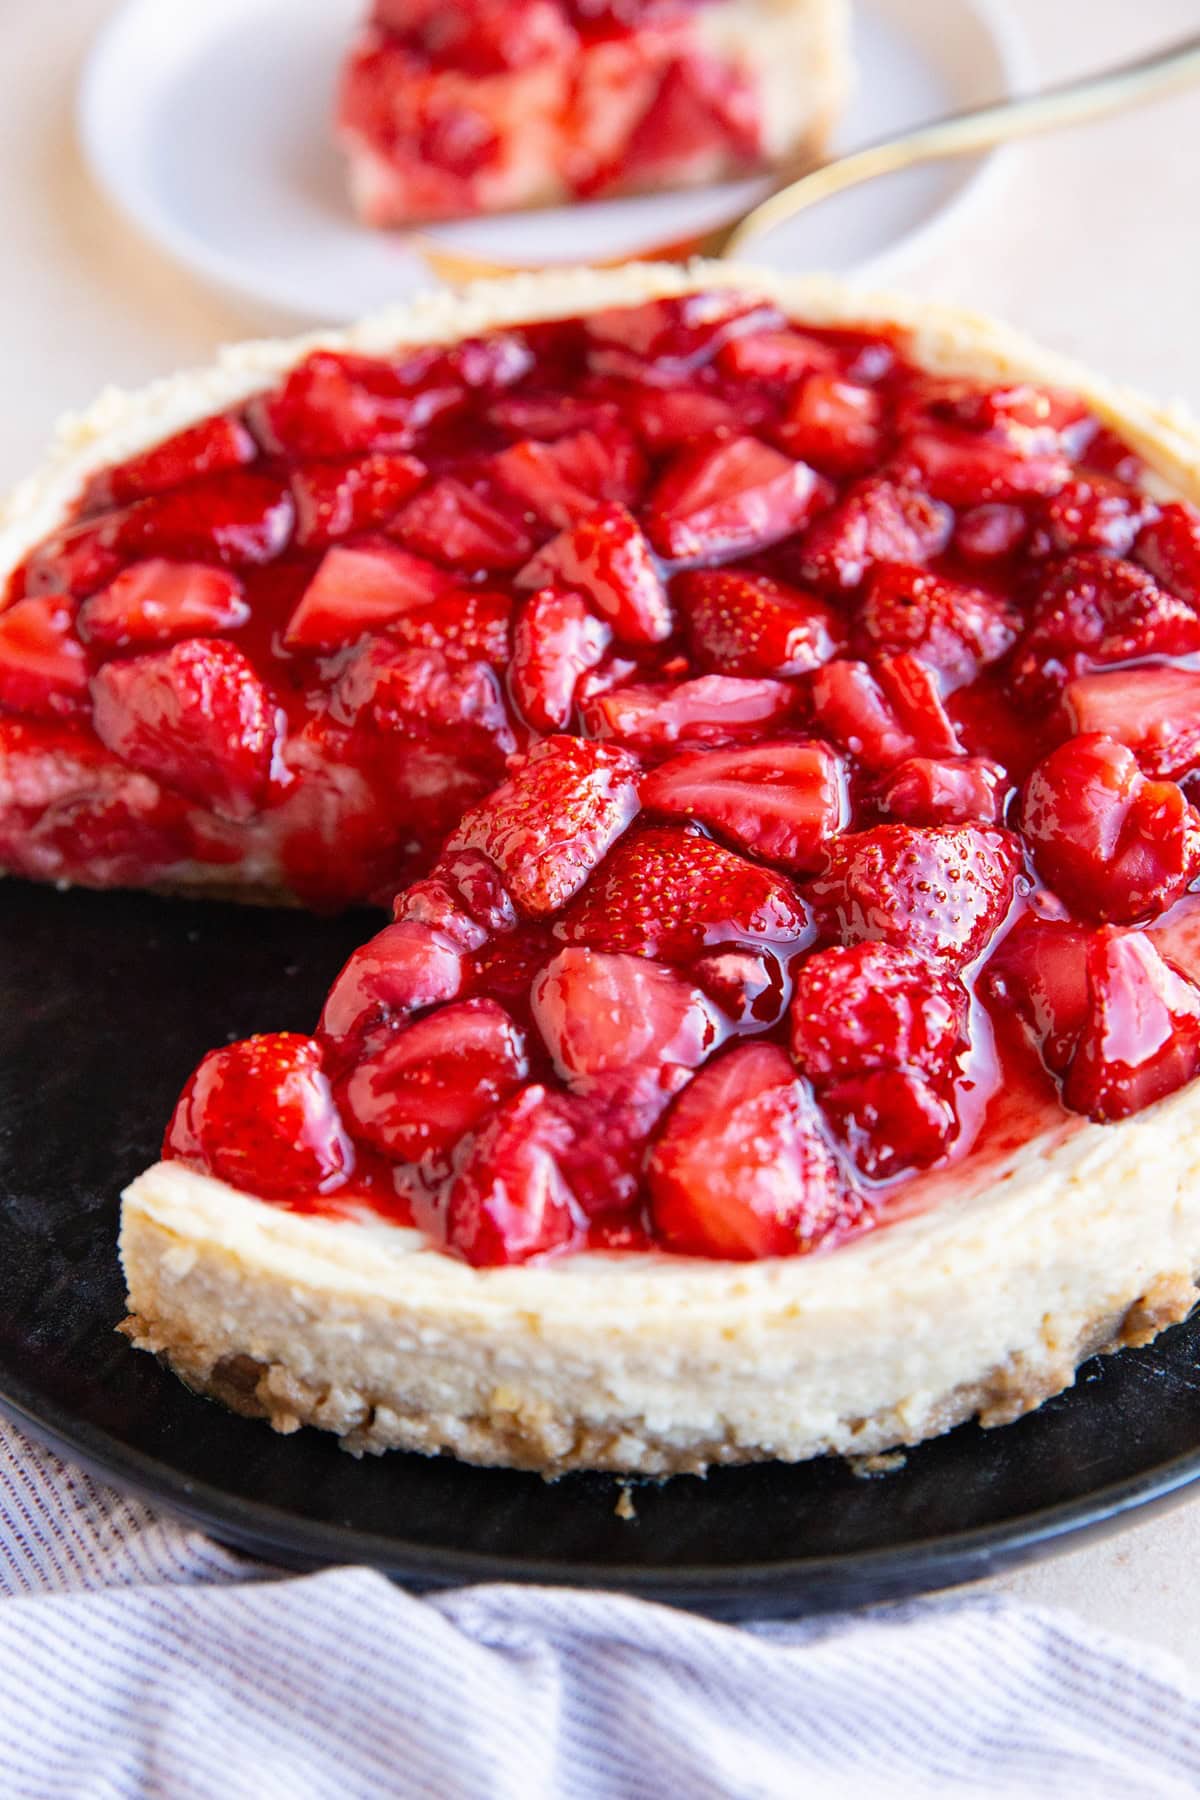
Did you know you could make cheesecake with cottage cheese?
Cottage cheese gets blended in a blender to a smooth consistency, then used as a cheesecake filling that tastes nearly identical to regular cheesecake.
The end result is high in protein and lower in calories, fat and sugar than traditional cheesecake for a healthier dessert.
I’m willing to bet most people wouldn’t be able to tell the difference!
In fact, my husband ate half of a cottage cheese cheesecake for dinner one night because the calories and protein content fit his macros.
And for the sake of thorough recipe testing.
I like topping it with a homemade strawberry sauce, but you can get creative with your cheesecake flavors here.
If you’re looking for a dairy-free cheesecake recipe, make The Best Paleo Cheesecake Recipe. For a sugar-free version, make my Dairy-Free Low Carb Cheesecake.
Why This Recipe Works:
The flavor of cottage cheese is similar to cream cheese. When blended up, cottage cheese becomes nice and creamy, which lends itself well to cheesecake.
In the realm of healthy desserts, this high-protein cheesecake is a powerhouse because not only does it provide a boost of protein, but it is also lower in fat and sugar than traditional cheesecake.
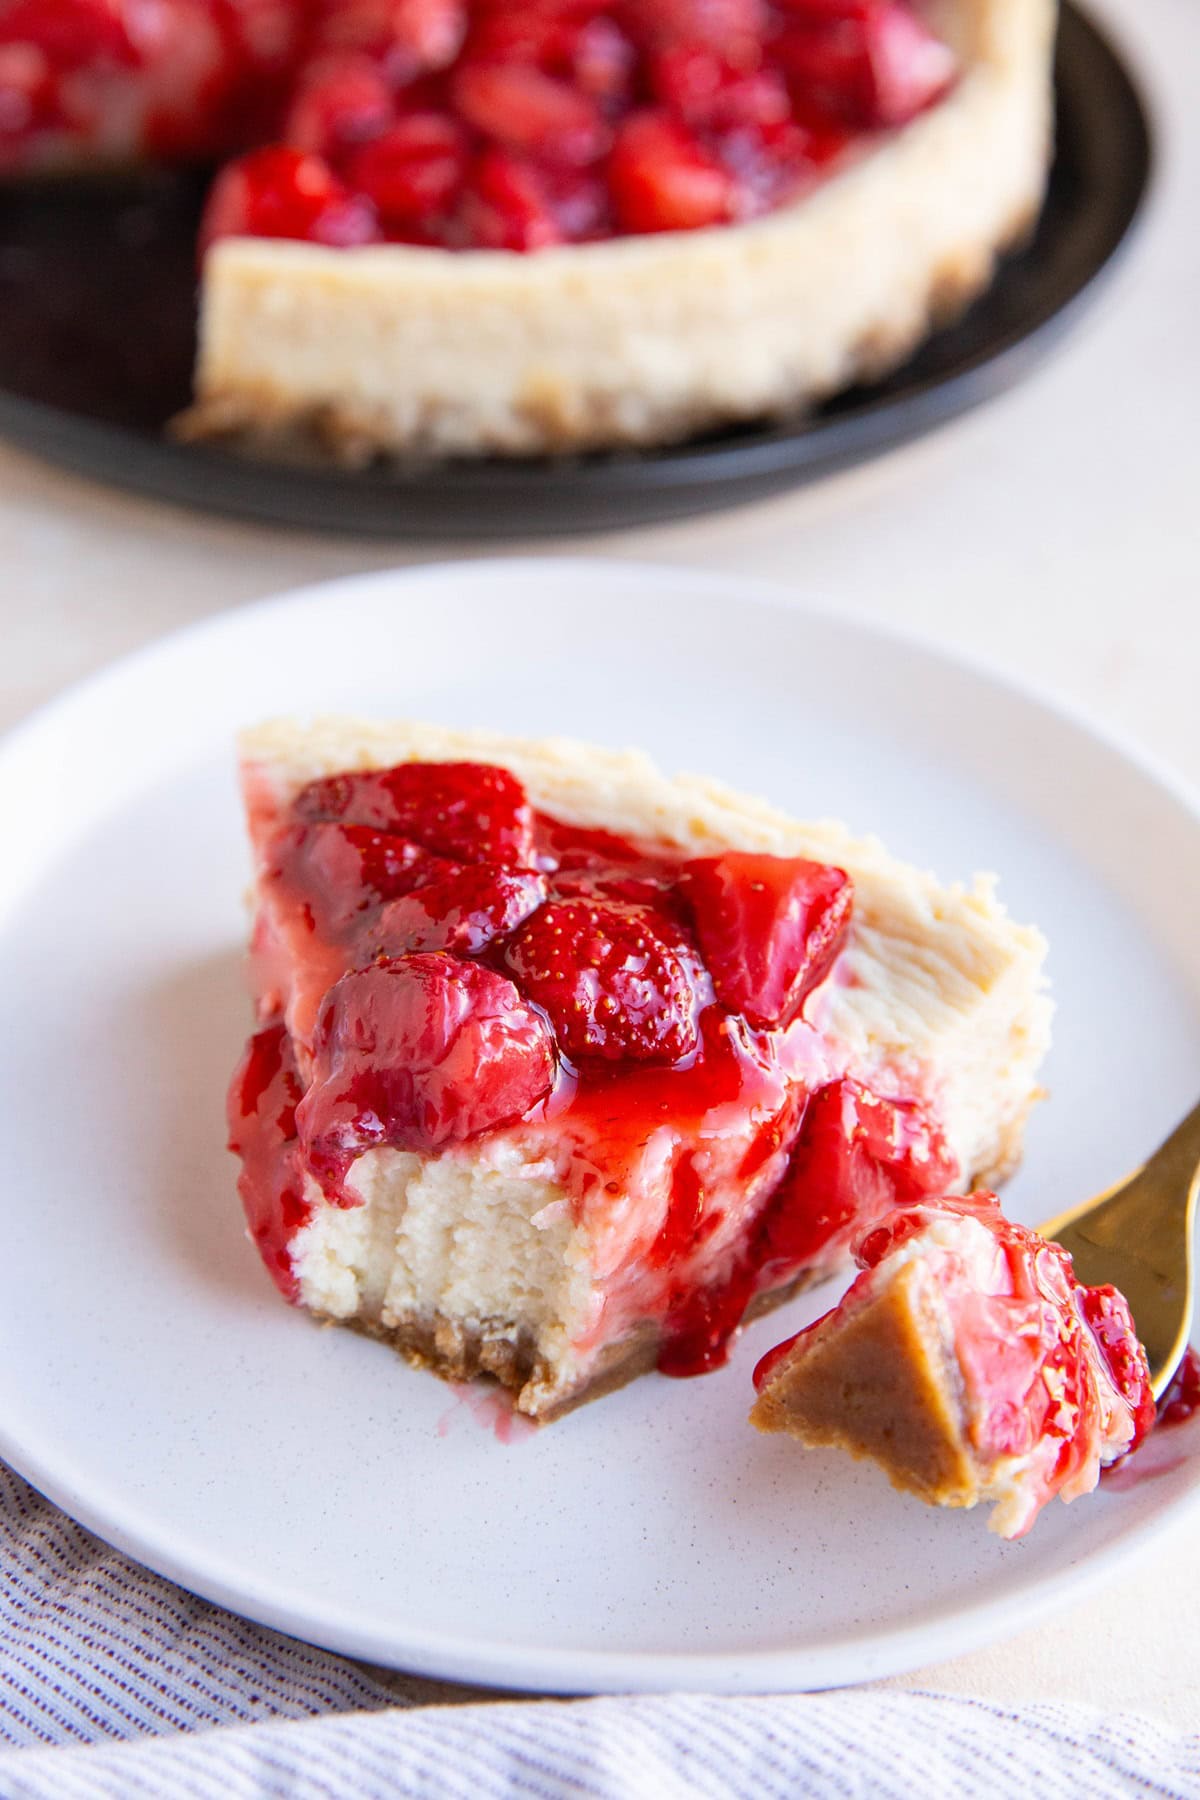
What Does Cottage Cheese Cheesecake Taste Like?
Cheesecake made with cottage cheese tastes remarkably similar to regular cheesecake in flavor.
The texture is a bit different in the sense that it doesn’t turn out quite as silky as regular cheesecake.
This is due to the fact that cottage cheese is lower in fat than cream cheese and there is also no heavy cream added to the recipe.
The flavor is also less sweet than classic cheesecake because I use less added sweetener. I find the cheesecake to be plenty sweet for my tastebuds, though folks with an assertive sweet tooth may want to add some granulated sweetener or a sugar-free sweetener.
In this sense, I find this high protein cheesecake recipe to be a delicious option for those looking for healthier desserts.
I’m willing to bet most people won’t notice a difference! But if you’re a cheesecake aficionado you may be setting yourself up for disappointment if the texture makes a difference to you.
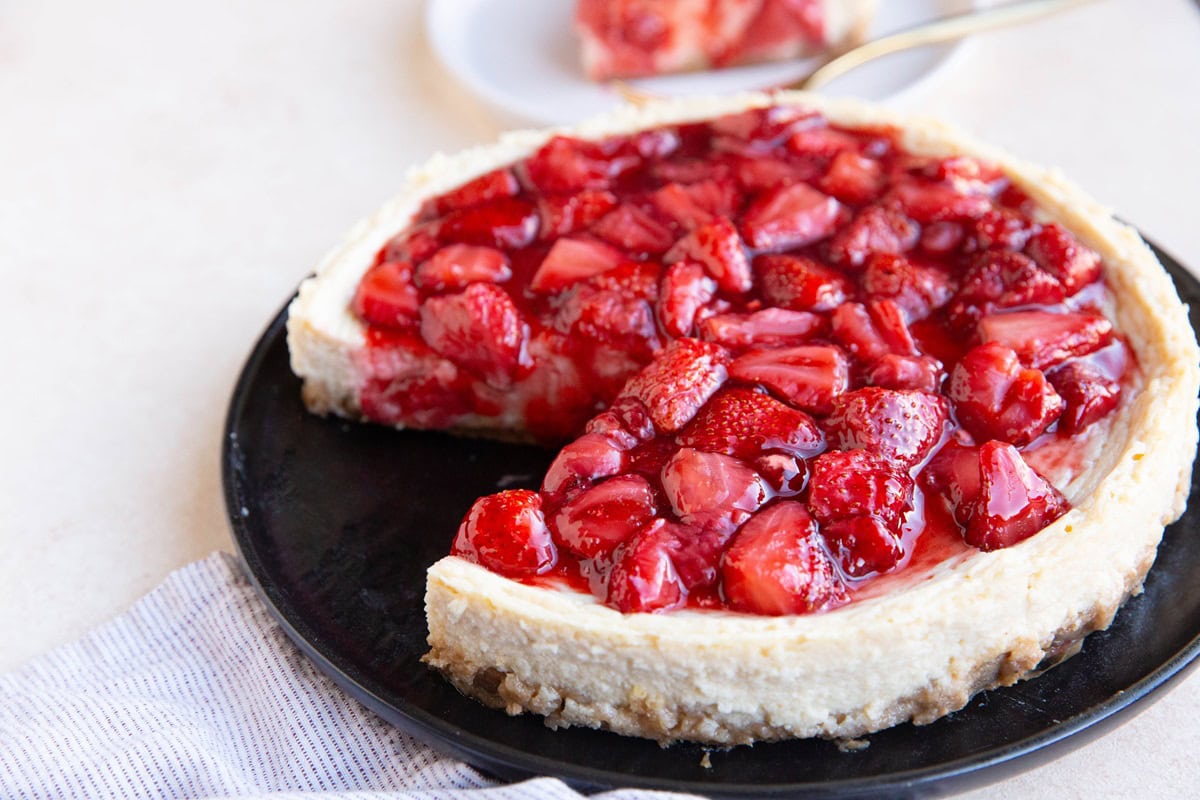
Let’s discuss the simple ingredients for cottage cheesecake recipe. They can all be found at any grocery store.
Cottage Cheese Cheesecake Ingredients:
Cottage Cheese: The key ingredient in this high-protein cheesecake recipe. Cottage cheese is high in protein and low in fat (provided you buy a low-fat option).
Because cottage cheese becomes nice and creamy when it is blended up, it makes for a lovely flavor and consistency for cheesecake. For rich cheesecake, use a higher fat cottage cheese such as 4% cottage cheese.
Pure Maple Syrup: Used to sweeten this healthy dessert, we use some pure maple syrup. I find this cheesecake is perfectly sweet without being overly sugary.
For those who like sweeter desserts, you may consider adding 1 to 4 tablespoons of regular cane sugar, brown sugar, or a sugar-free sweetener.
Eggs: A couple large eggs makes the cheesecake filling fluffy, helps it set up, and ensures the filling bakes evenly. I haven’t tested an egg-free version of this recipe yet.
Tapioca Flour: Tapioca flour helps the cheesecake set up. Cornstarch works too.
Pure Vanilla Extract: Adding warm flavor to this creamy treat, we need a splash of vanilla extract. Use a vanilla bean if you’d prefer.
Sea Salt: A pinch of salt enhances all of the flavors and makes the cheesecake taste richer and sweeter without the need for more fat or sugar.
Graham Cracker Crust Ingredients:
Graham Crackers: We need graham cracker crumbs to make classic graham cracker crust. You can use gluten-free graham crackers (which is what I do) or regular graham crackers.
Butter or Coconut Oil: Bringing richness to the crust, we need a little unsalted butter to add some fat.
Pure Maple Syrup: Rather than sweetening the crust with regular cane sugar, I like using pure maple syrup for a refined sugar-free version.
I also like taking this approach to lower the amount of ingredients needed for the recipe.
Ground Cinnamon: While the ground cinnamon is optional, I love that it adds some warm nuance to the cheesecake crust.
Strawberry Cheesecake Topping Ingredients:
Fresh strawberries, pure maple syrup, and tapioca flour are all we need to make a delicious strawberry topping.
For a sweeter topping, add 1 to 3 tablespoons of brown sugar in addition to the pure maple syrup.
The tapioca flour is used to thicken the topping so that the sauce around the strawberries is nice and gooey. You can also use cornstarch to thicken the strawberry sauce.
Recipe Adaptations:
- Use a combination one cup of Greek yogurt and 2 cups of cottage cheese if you’d like. Alternatively, you can use 1 cup sour cream and 2 cups cottage cheese.
- For tangy cheesecake, add 1 tablespoon of lemon juice and 2 teaspoons of lemon zest to the cheesecake mixture.
- Rather than making a topping for the cheesecake, serve it with fresh berries or fresh fruit of choice.
Now that we’ve covered the basic ingredients for this healthy cheesecake recipe, let’s make it!
How to Make Cottage Cheese Cheesecake:
Step 1: Make the Graham Cracker Crust:
Preheat the oven to 350 degrees F.
Transfer graham crackers to a food processor or blender and blend until the graham crackers form a coarse flour. Note: you can also place the graham crackers in a zip lock bag, seal it, and use a rolling pin to break them up.
Pour the graham cracker mixture into a mixing bowl along with the rest of the ingredients for the crust (melted butter, pure maple syrup, salt, and cinnamon). Stir everything together until well-combined.
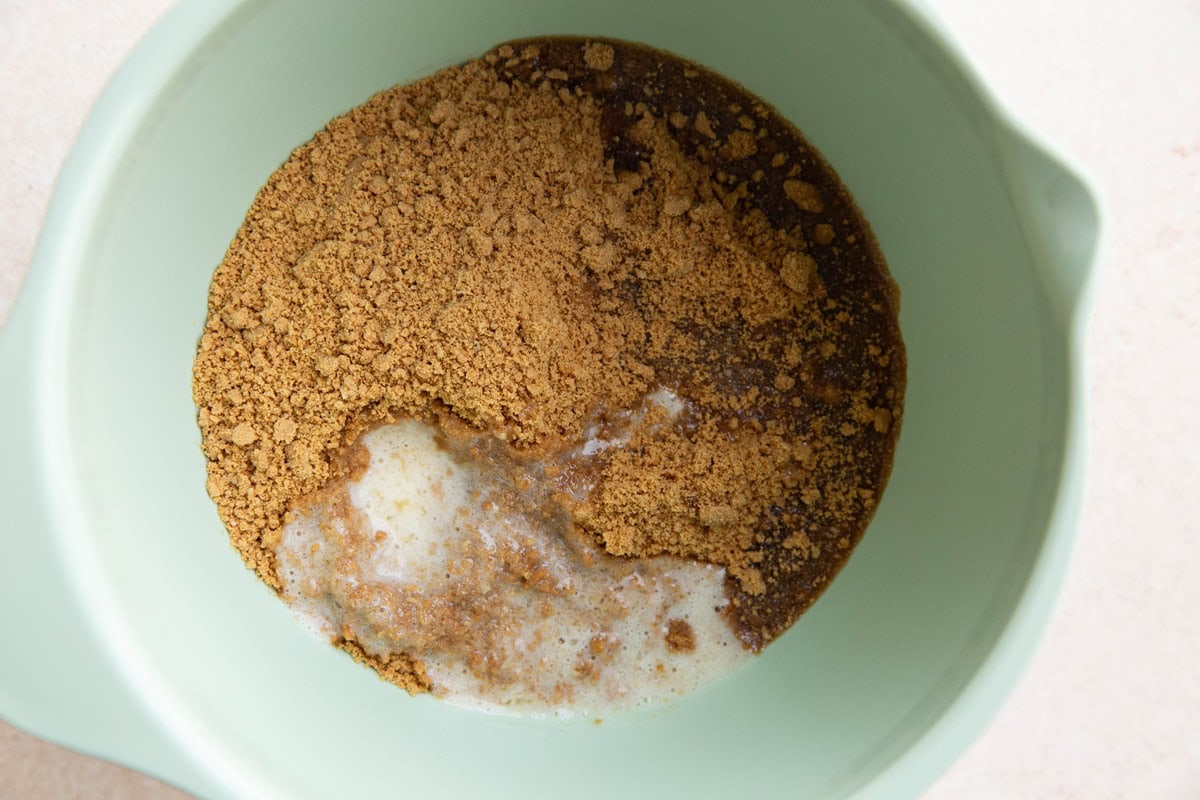
Line the bottom of a 9-inch springform pan with parchment paper. If you don’t have 9 inch spring form pan, you can also use a regular cake pan or an 8-inch springform pan.
Press the graham cracker crust mixture into the bottom of the prepared pan until it forms an even layer.
Bake crust on the center rack of the preheated oven for 10 minutes. The cheesecake crust should be lightly golden brown but not fully baked.
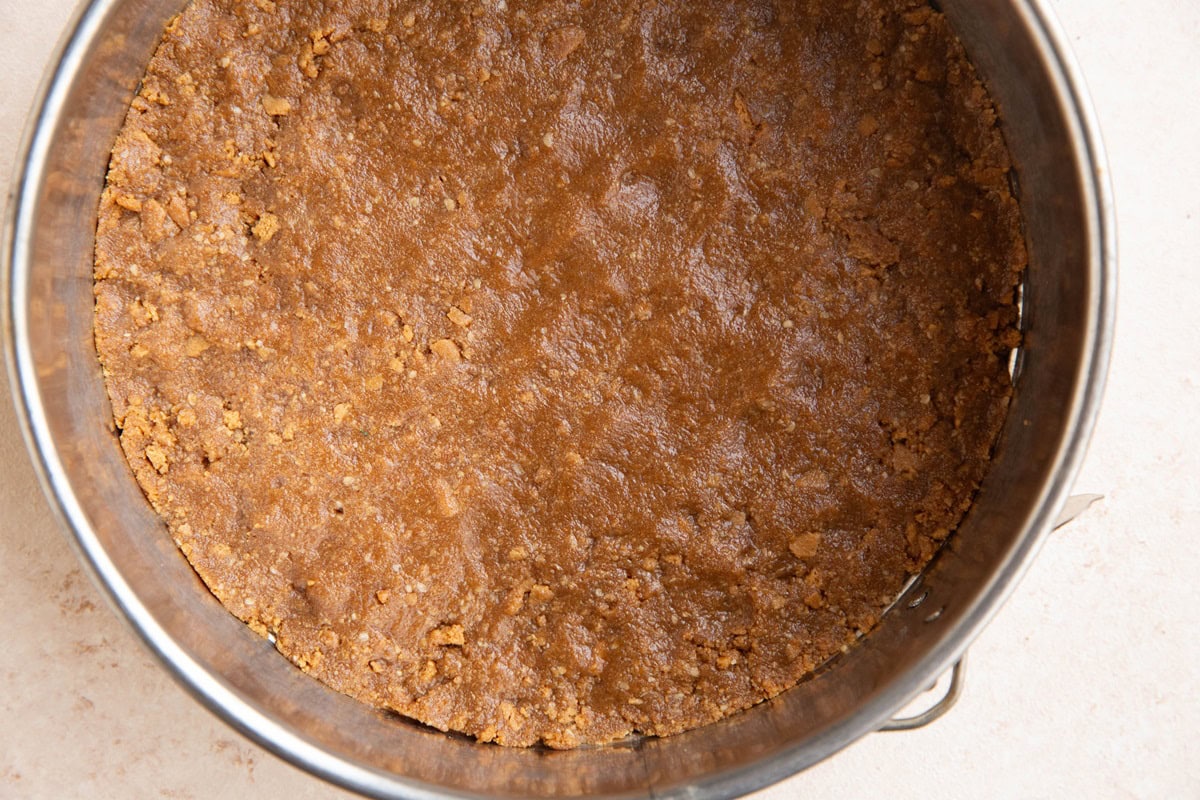
Remove the pie crust from the oven and allow it to cool while you’re preparing the cheesecake filling.
Step 2: Prepare the Cheesecake Filling:
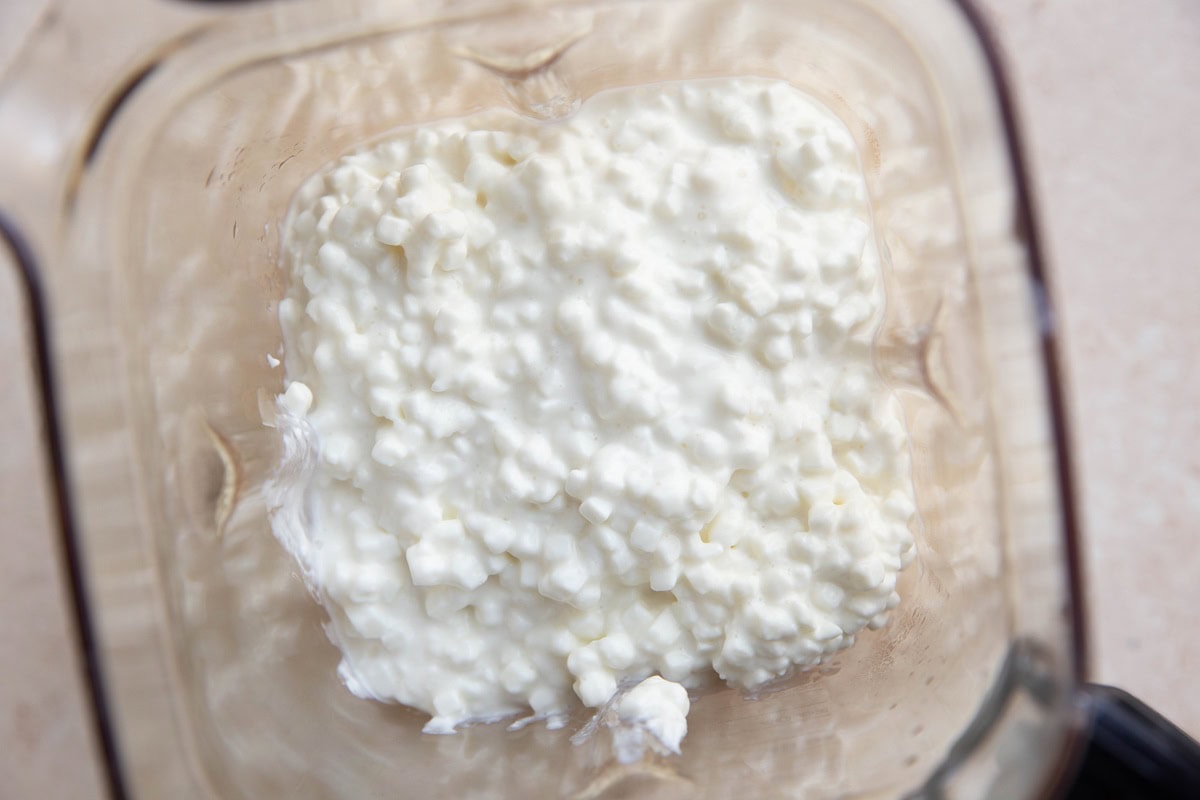
Combine cottage cheese and the pure maple syrup to a high powered blender and blend on medium speed until the mixture is completely smooth.
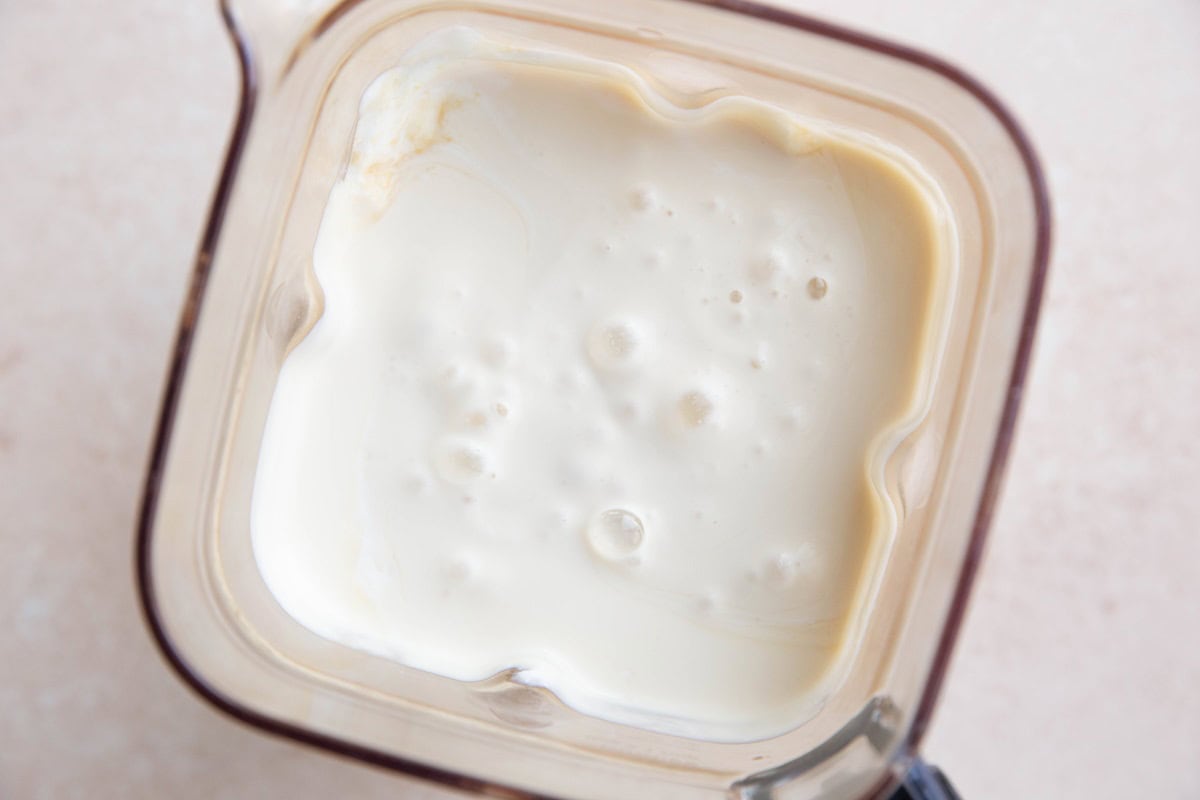
Add in the eggs, vanilla extract, tapioca flour, and sea salt and blend just until all of the ingredients are combined. Avoid over-blending the mixture.
Step 3: Bake Cheesecake in a Water Bath:
Wrap the bottom and sides of the pie dish with aluminum foil and place it inside of a roasting pan. Spray the inside sides of the pan with nonstick cooking spray.
Heat a large kettle of water to a full boil then pour the hot water around the pie pan, creating a water bath. The water should go about half-way up the outside of the pie dish.
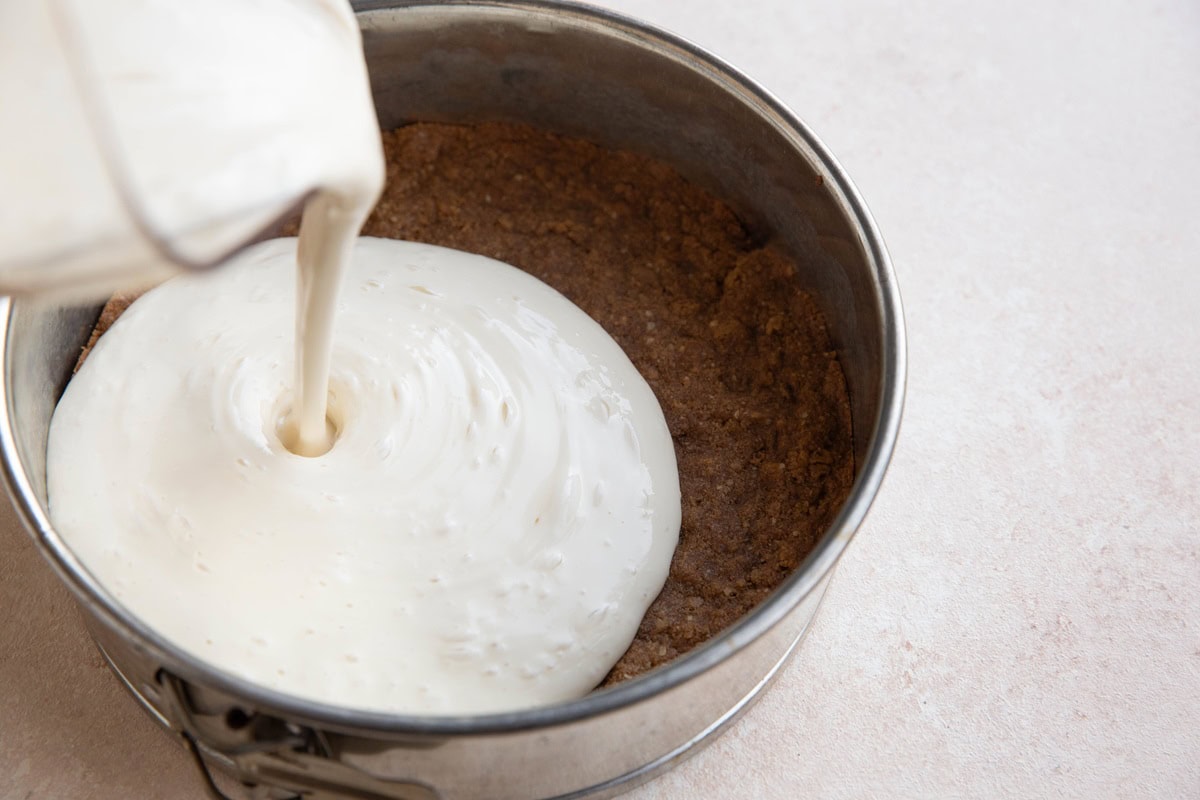
Pour the cottage cheese mixture into the pie dish and spread it into an even layer. Cover the top of the pie dish with aluminum foil. The water bath and the foil cover allows the cheesecake to bake evenly without getting too brown anywhere.
Transfer the roasting pan to the preheated oven and bake for 50 to 60 minutes. The cheesecake is done when the sides have firmed up but the center is still slightly jiggly, or it reaches an internal temperature of 150 degrees Fahrenheit.
Note: if you’d prefer to skip the water bath, you certainly can. I do recommend it for the best results because the texture is more tender.
Step 4: Refrigerate the Cheesecake:
Remove the cheesecake from the oven and allow it to cool until the outside of the pan is no longer warm to the touch.
Keeping the pan covered with foil, transfer the cheesecake to the refrigerator.
Chill for at least 4 hours or until the cheesecake has completely chilled.
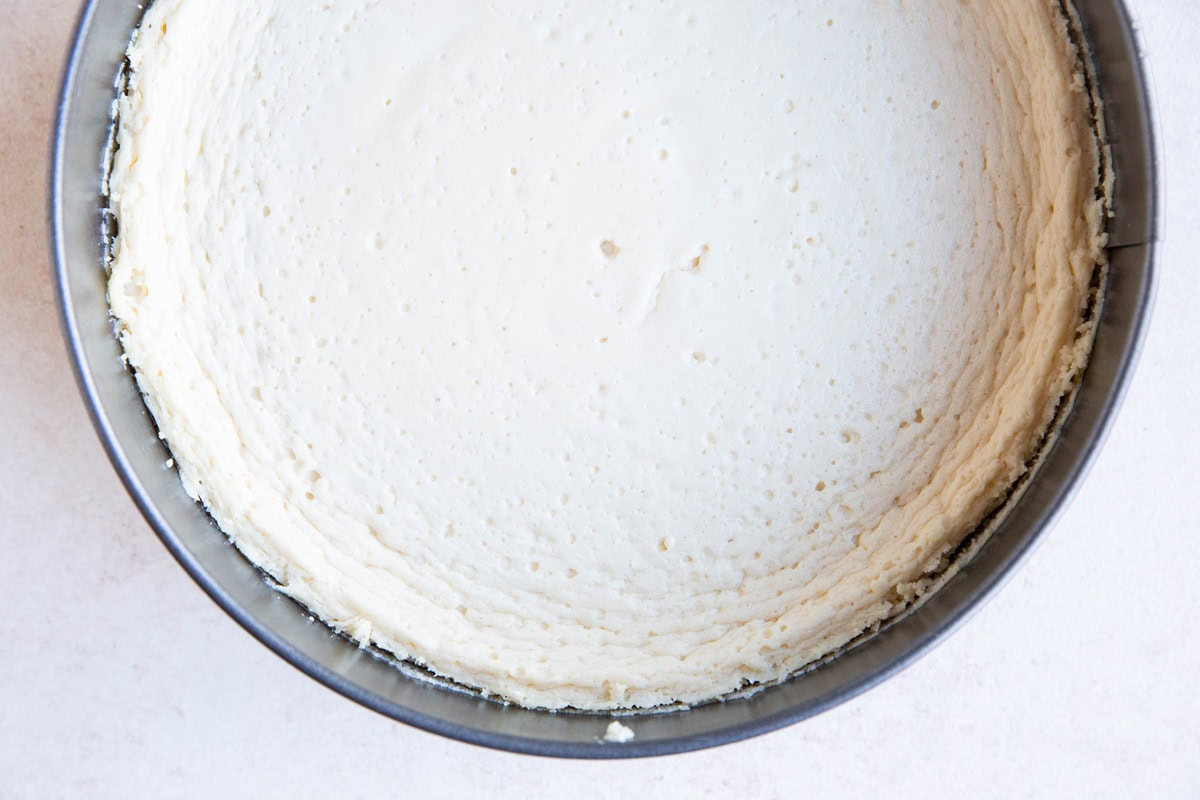
Because cheesecake tastes even better the next day or the 3 to 4 days following preparation, I recommend making the cheesecake in advance of when you need it. Also give yourself plenty of time because it needs to chill before serving.
Cheesecake keeps for up to 1 week in the refrigerator.
Step 5: Prepare the Strawberry Cheesecake Topping (Optional):
Transfer the chopped fresh strawberries to a saucepan along with the pure maple syrup. Cover the pot and heat over medium-high heat on the stove top.
Bring the strawberry mixture to a full boil and cook, stirring occasionally, until the strawberries reach your desired level of softness.
Stir in the tapioca flour and continue cooking until the sauce around the strawberries has thickened.
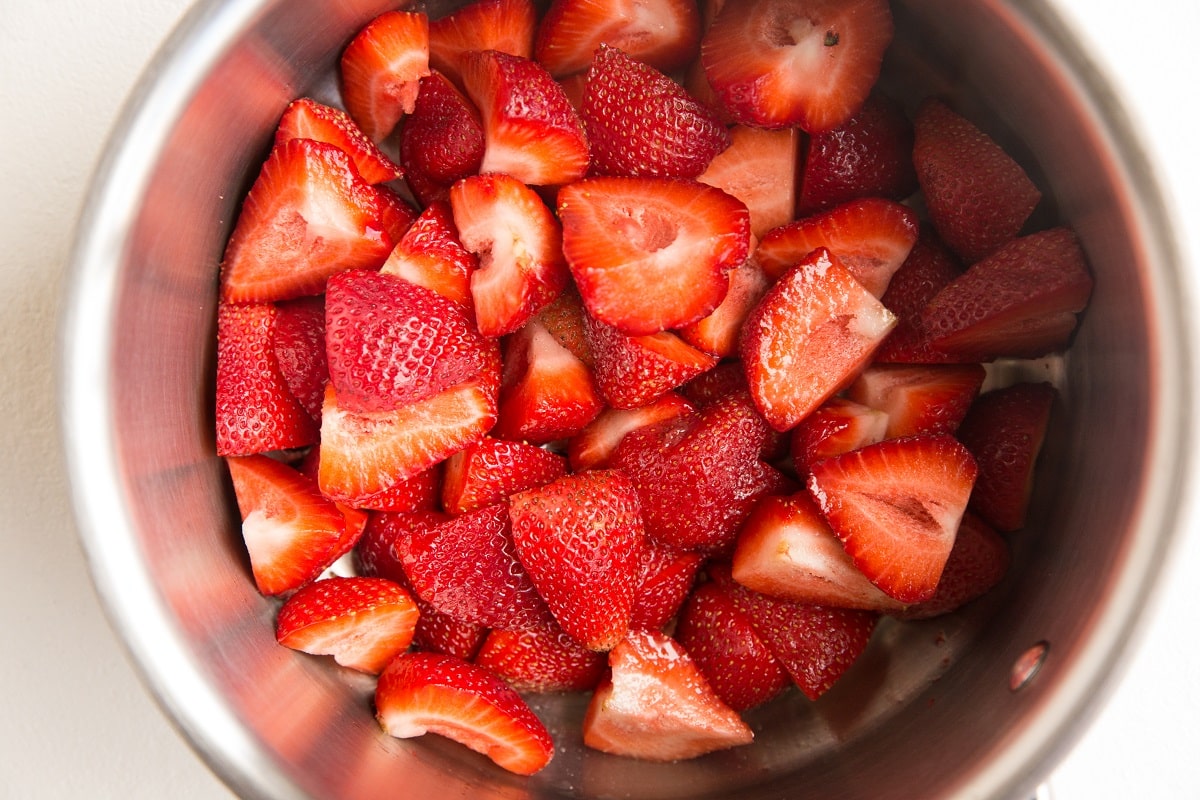
Transfer the strawberry topping to a bowl and refrigerate until chilled.
Pour the strawberry topping over the cheesecake before slicing and serving.
As an alternative, slice the cheesecake first and then drizzle each individual piece with strawberry topping before serving.
How to Tell if Cheesecake is Fully Cooked:
Cheesecake should appear firm around the edges but the center should have a slight jiggle when gently jostled. In this sense, it may appear as though the center is underbaked but after the cheesecake chills in the refrigerator, it will fully set up.
Cheesecake is fully baked once the center reaches 150 degrees Fahrenheit. If you have a digital thermometer, insert it into the center of the cheesecake to see if it is fully cooked.
The goal is to cook the cheesecake just until it has set up so that the texture remains creamy. If the cheesecake is overbaked, it will have a somewhat grainy texture and may even taste a little dry.
How to Store Cheesecake:
Wrap the pie dish with plastic wrap and store any leftovers in the refrigerator for up to 1 week. I like to transfer the remaining cheesecake to an airtight container to ensure it doesn’t dry out.
Cheesecake can also be stored in the freezer for up to 3 months.
Now that we’ve made the best healthy cheesecake recipe, let’s chat about the nutrition facts.
Nutrition Information:
When cut into 8 slices, each slice is 237 calories, with 13 grams of protein. There are 7 grams of fat, 33 grams of carbs and 26 grams of sugar. Keep in mind, some of this sugar takes the form of lactose from the cottage cheese.
These macros are calculated based on using low-fat cottage cheese. If you use 4% fat cottage cheese, each slice contains 252 calories and 9 grams of fat.
Because there isn’t a significant difference in calories, fat, and protein between low-fat cottage cheese and higher fat cottage cheese, I recommend using the higher fat kind because the cheesecake turns out richer with softer texture.
While regular cheesecake does contain a decent amount of protein too, it’s also double to triple the amount of calories and fat per slice.
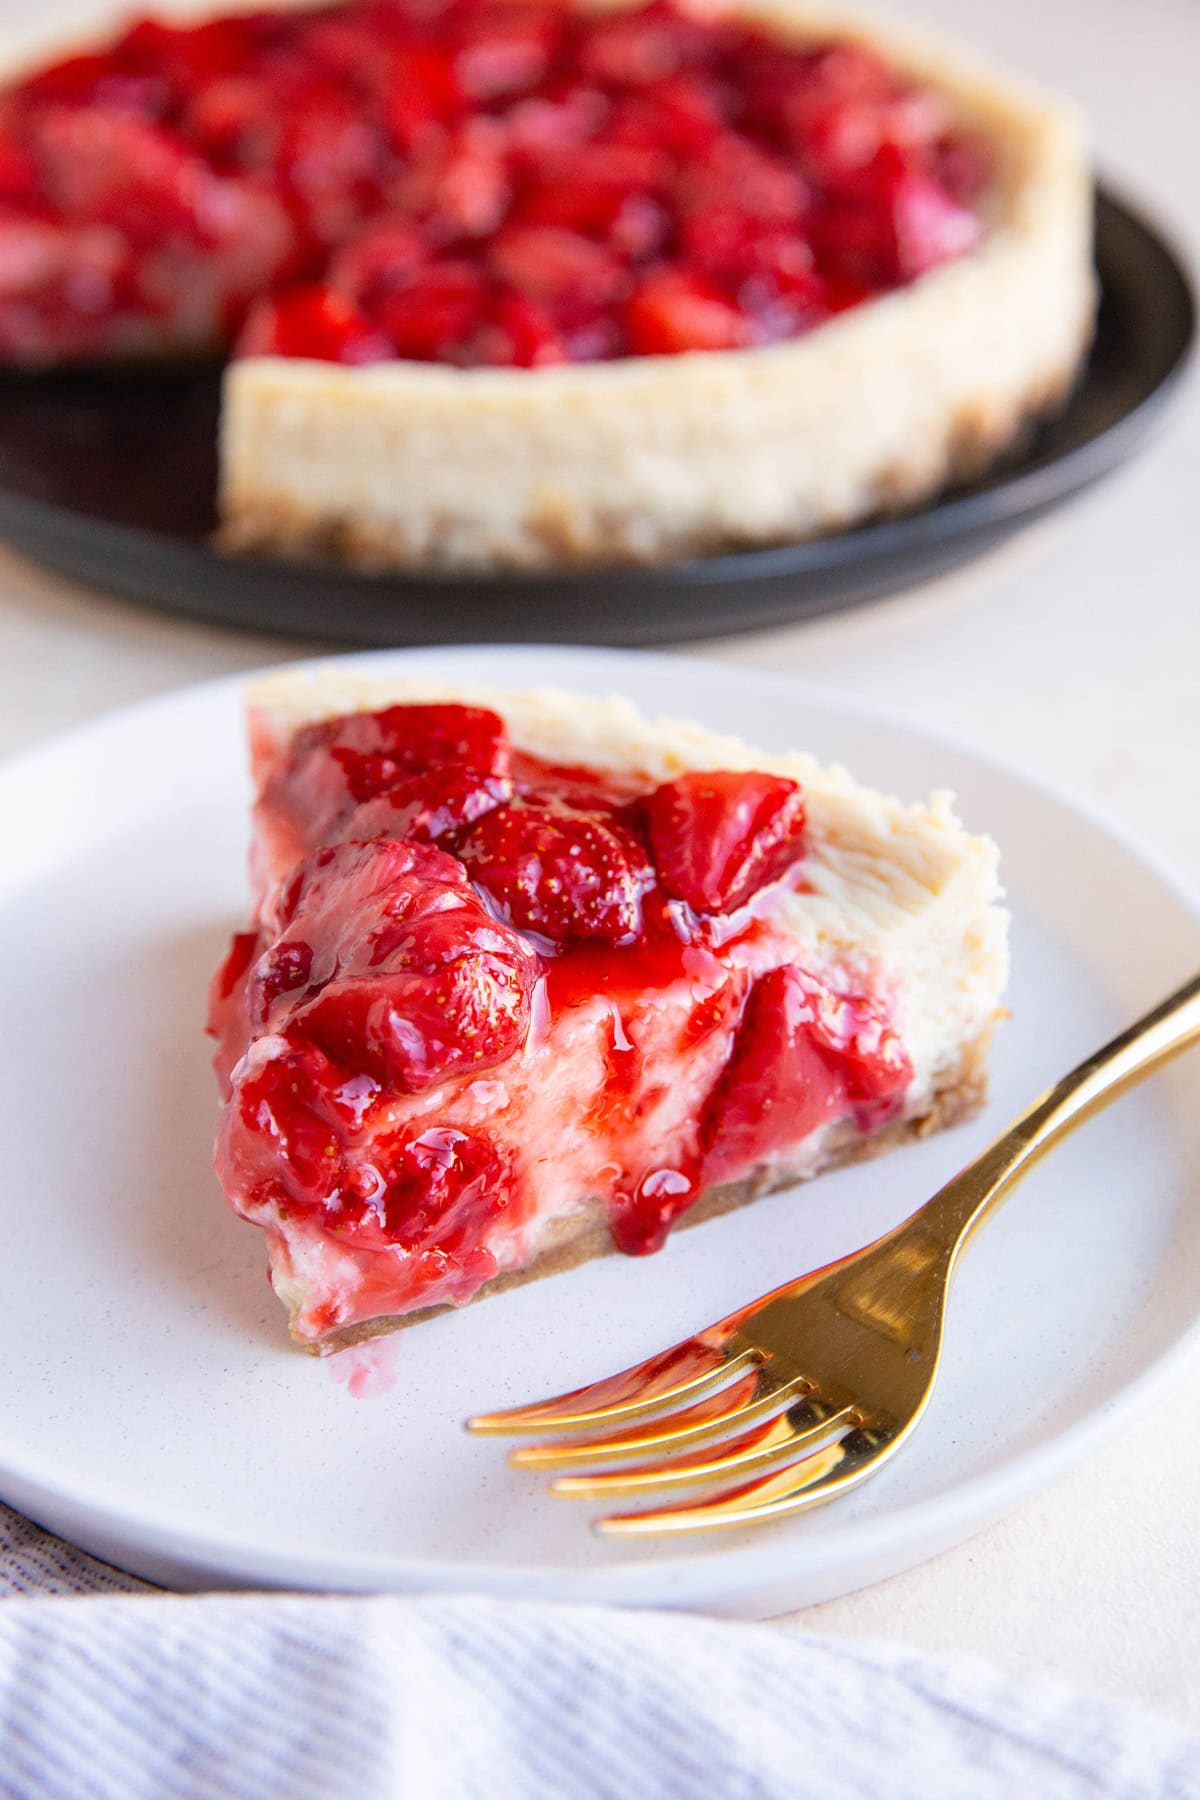
And that’s it! A delightful cheesecake recipe that may just have everyone fooled. The best part about this delicious cheesecake is it’s so tasty in spite of the low calories.
It’s a great option for folks who enjoy sweet treats with health benefits or healthier options to normal cheesecake. This easy recipe for homemade cheesecake can be made any time of the year.
If you’re looking for more healthy dessert recipes, also try out these reader favorites.
More Health-Conscious Desserts:
- 5-Ingredient Peanut Butter Oatmeal Chocolate Chip Cookies
- Healthy Double Chocolate Sweet Potato Muffins
- Vegan Chocolate Truffles
- Healthy Double Chocolate Oatmeal Cookies
- Almond Butter Oatmeal Cookies
- Low-Carb Lemon Cheesecake Bars
- Crock Pot Rice Pudding
Cheesecake for dinner!
Cottage Cheese Cheesecake
Equipment
Ingredients
Pie Crust:
- 1 ½ cups (180g ) graham cracker crumbs I use gluten-free
- 2 Tbsp (30 ml) unsalted butter, melted
- 3 Tbsp (44ml) pure maple syrup
- Pinch sea salt
- ¼ tsp ground cinnamon optional
Cottage Cheese Cheesecake Filling:
- 24 ounces cottage cheese *
- ½ cup (120ml) pure maple syrup
- 2 large eggs
- 2 tsp pure vanilla extract
- 1 Tbsp tapioca flour or gluten-free all-purpose flour, or cornstarch
- ½ tsp sea salt
Strawberry Topping:
- 2 cups (16 oz) fresh strawberries chopped
- 3 Tbsp (44ml) pure maple syrup
- 2 tsp tapioca flour
Instructions
Make the Graham Cracker Crust:
- Preheat the oven to 350 degrees F.
- Transfer graham crackers to a food processor or blender and blend until the graham crackers form a coarse flour. Note: you can also place the graham crackers in a zip lock bag, seal it, and use a rolling pin to break them up.
- Pour the graham cracker mixture into a mixing bowl along with the rest of the ingredients for the crust (melted butter, pure maple syrup, salt, and cinnamon). Stir everything together until well-combined.
- Line the bottom of a 9-inch springform pan with parchment paper. If you don’t have 9 inch spring form pan, you can also use a regular cake pan or an 8-inch springform pan.
- Press the graham cracker crust mixture into the bottom of the prepared pan until it forms an even layer. Bake crust on the center rack of the preheated oven for 10 minutes. The cheesecake crust should be lightly golden brown but not fully baked. Remove the pie crust from the oven and allow it to cool while you’re preparing the cheesecake filling.
Prepare the Cheesecake Filling:
- Combine cottage cheese and the pure maple syrup to a high powered blender and blend on medium speed until the mixture is completely smooth.
- Add in the eggs, vanilla extract, tapioca flour, and sea salt and blend just until all of the ingredients are combined. Avoid over-blending the mixture.
Bake Cheesecake:
- Wrap the bottom and sides of the pie dish with aluminum foil and place it inside of a roasting pan. Spray the inside sides of the pan with nonstick cooking spray.
- Heat a large kettle of water to a full boil then pour the hot water around the pie pan, creating a water bath. You want the water to go about half-way up the outside of the pie dish.
- Pour the cottage cheese mixture into the pie dish over the pie crust and spread it into an even layer. Cover the top of the pie dish with aluminum foil. The water bath and the foil cover will allow the cheesecake to bake evenly without getting too brown anywhere.
- Transfer the roasting pan to the preheated oven and bake for 50 to 60 minutes (still at 350 degrees F). The cheesecake is done when the sides have firmed up but the center is still slightly jiggly, or it reaches an internal temperature of 150 degrees Fahrenheit.
- Note: if you’d prefer to skip the water bath, you certainly can. I just recommend it for the best results because the texture is more tender.
- Remove the cheesecake from the oven and allow it to cool until the outside of the pan is no longer warm to the touch. Keeping the pan covered with foil, transfer the cheesecake to the refrigerator. Chill for at least 4 hours or until the cheesecake has completely chilled.
Prepare the Strawberry Cheesecake Topping (Optional):
- Transfer the chopped fresh strawberries to a saucepan along with the pure maple syrup. Cover the pot and heat over medium-high heat on the stove top. Bring the strawberry mixture to a full boil and cook, stirring occasionally, until the strawberries reach your desired level of softness. Stir in the tapioca flour and continue cooking until the sauce around the strawberries has thickened.
- Transfer the strawberry topping to a bowl and refrigerate until chilled.
- Pour the strawberry topping over the cheesecake before slicing and serving. As an alternative, you can slice the cheesecake first and then drizzle each individual piece with strawberry topping before serving.
Notes
Nutrition
This post contains affiliate links, which means I make a small commission off items you purchase at no additional cost to you.



I’d like to bake this as a pie, do you think it would work? Thanks
Hi Bonnie! Do you mean baking it in a regular pie dish instead of a springform pie pan? If so, you can definitely make the recipe in a regular 9-inch pie dish, and you can also skip the water bath. Just want to be sure I understand what you mean by making it as a pie, so if I’m missing something here, let me know 🙂
I absolutely love this recipe. It is light and delicious and doesn’t make me feel overfull. Not only is it delicious for a snack or dessert- but it’s fabulous for breakfast.
I made it the morning Julia sent out the recipe. It smelled so wonderful- that I ate it hot (really) and had it for breakfast.
I do not own a springform pan. Never saw the need to own one – and having downsized- I have no where to put one. When I made mine- I made my gluten free crust with GF ginger snaps and made it in a glass pie plate. OMG!!! It baked up beautifully. I used the pie plate as the serving dish. I have always made regular cheesecake in a pie plate or deep cake pan- either round or square- so it never occurred to me Julia’s recipe would not be perfect in something other than a spring form.
Next time I make it- I am going to try making individual servings in a large muffin pan.
The gingersnap crust has me swooning! Thank you for sharing all of this, Annie! This is super helpful to others who don’t own a springform pan too (which I believe is most people)! Much appreciated! xo