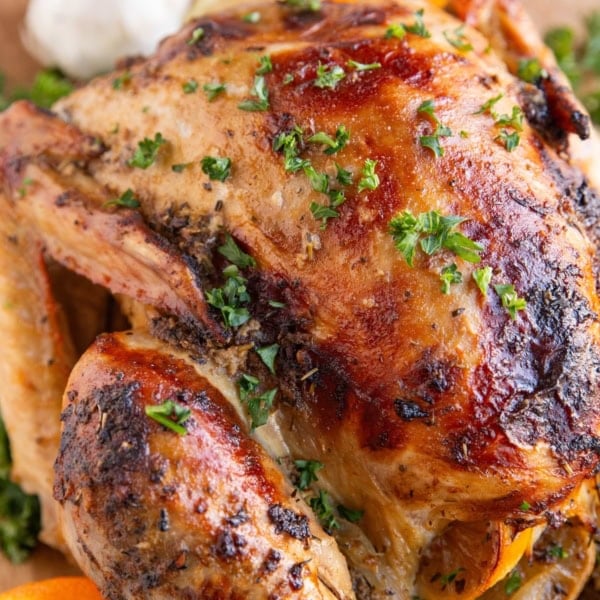
Garlic Butter Roast Turkey brings bold, classic flavor to a traditional Thanksgiving feast! This impressive centerpiece is sure to please all who try it, as it results in the more flavorful, tender turkey!
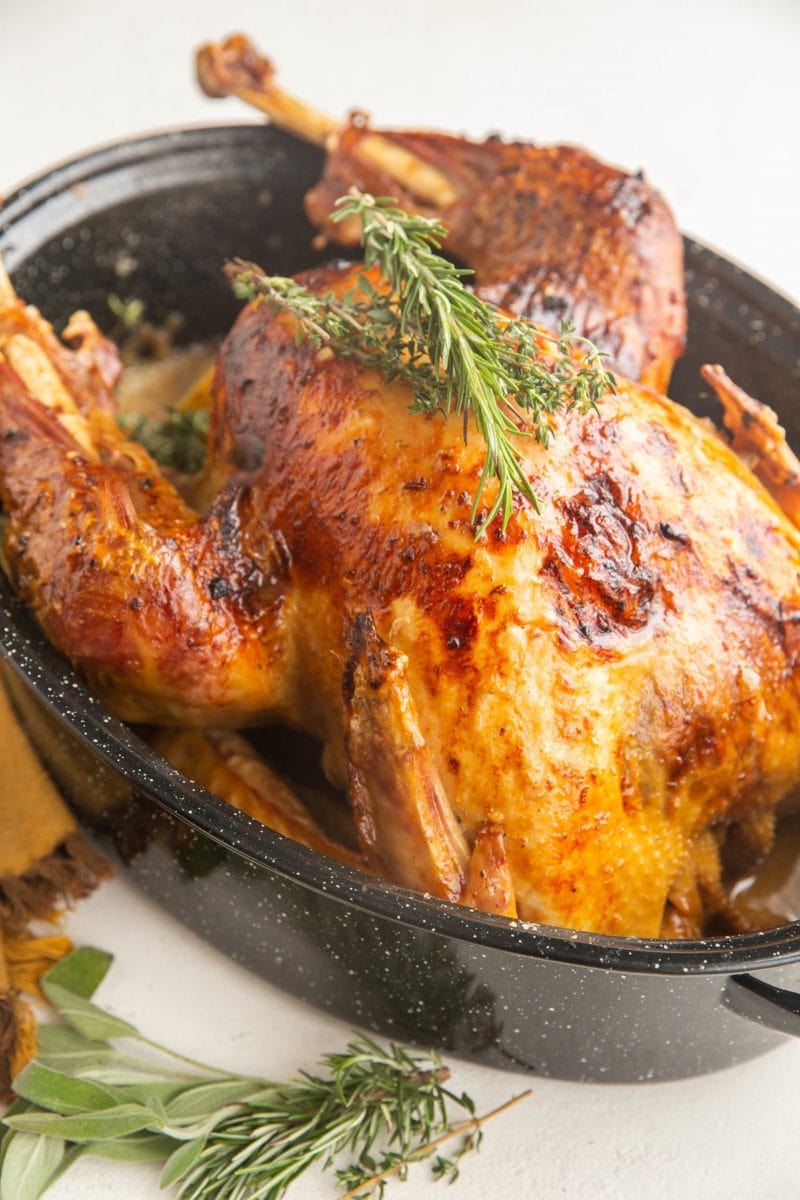
I made it my mission this November to create an easy guide to making the absolute BEST Thanksgiving turkey recipe!
…AND well in advance of the holidays so that no one is scrambling to figure out the details the day before.
With a little forethought and some extra time, you’ll end up with a show-stopping oven-roasted turkey!
This Garlic Butter Roast Turkey happens to be my personal favorite method of cooking the main event.
It involves three simple yet pivotal steps: Dry brining, injecting, and rubbing.
Don’t worry, we’ll thoroughly cover each step so that you can decide if you want to try all three, or just pick a couple.
If you’re very familiar with each of the steps already, skip right to the recipe by clicking the Jump To Recipe button above (or scroll down).
However, if you’re fairly new to roasting turkey or would like a refresh, get cozy because I have a great deal of information here to ensure you end up with the absolute best result.
Planning on cooking just a turkey breast and looking for a succulent turkey breast recipe? Make my Garlic Butter Boneless Turkey Breast, or my Garlic Herb Bone-In Turkey Breast recipe.
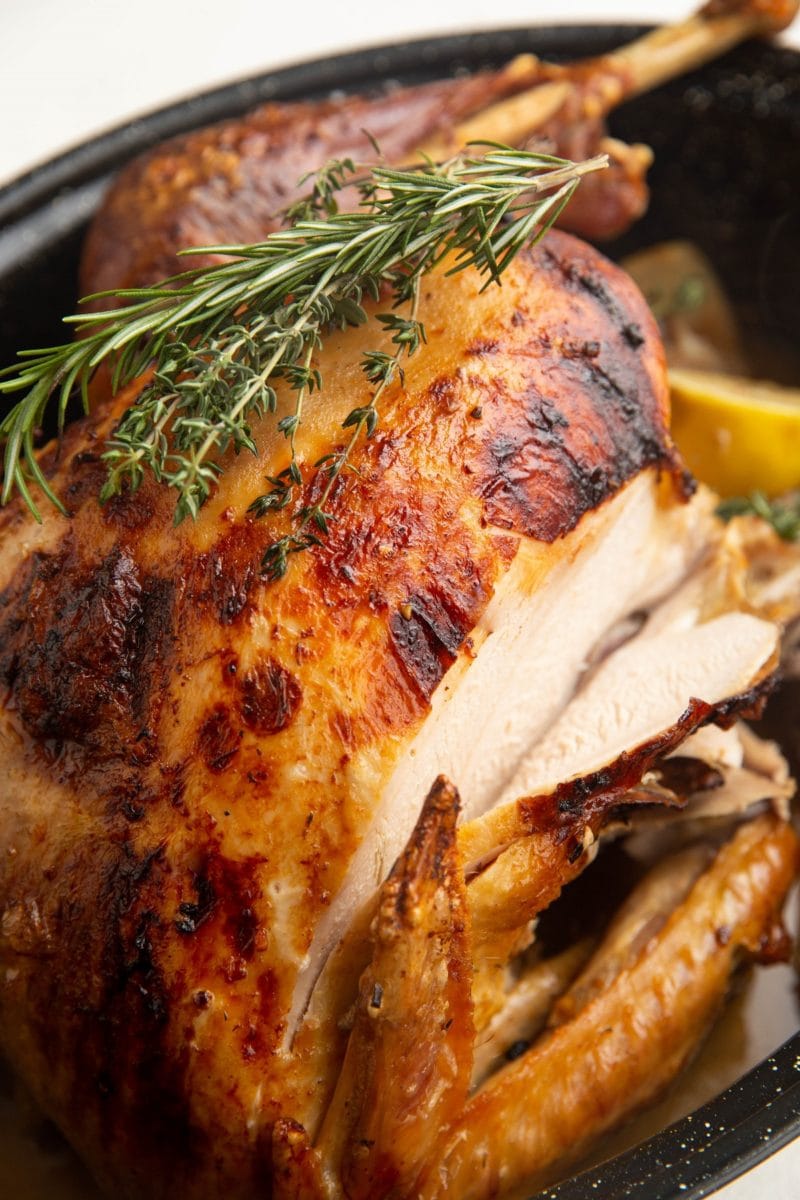
Some Tips For Preparing The Best Thanksgiving Turkey:
Tip #1: Start with a quality turkey.
Tip #2: Dry brine the turkey.
Tip #3: Don’t overcook the turkey!
Bonus Points: Inject the turkey & rub it with something delicious.
If you can nail the first three tips, you’re guaranteed to end up with a juicy, flavorful, tender turkey. You won’t need to do much else to it in order for it to turn out amazing!
But because we like to go the distance, if you follow the method and recipe here, you’ll be left with the most memorable Thanksgiving roast turkey that you’ll want to repeat in all the years to come.
So without further delay, let’s jump right into my method for making Thanksgiving turkey that has amazing taste and texture.
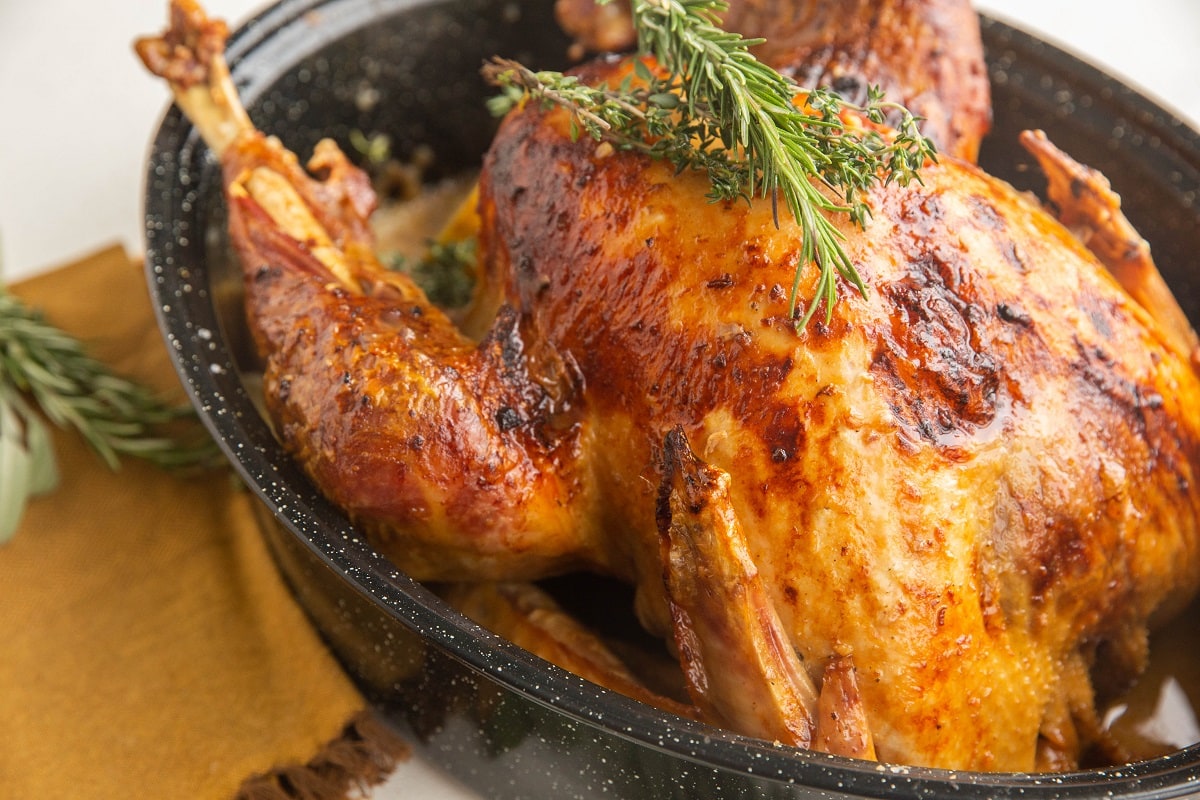
Step 1: Thaw Your Turkey (If Frozen):
In general, you will need 1 day of thaw time for every 5 pounds of turkey if your turkey is coming to you frozen. This means, for instance, if your turkey weighs about 15 pounds, you will need about 3 days to thaw it out.
To thaw a frozen turkey properly, simply place it in your refrigerator and allow it to thaw slowly. If you’re in a pickle and need to thaw it quicker, you can place the whole turkey (covered in its packaging) in the sink and fill it with cold water.
If your turkey is fresh, you don’t need to worry about allotting extra time to thawing and you can skip right to dry brining.
Source your turkey according to how many people you’re serving well in advance so that you have plenty of time to allow it to thaw.
How much turkey to buy per person? I budget for one pound of turkey meat per person, which may seem like a lot. You’d be surprised how much people can eat when they enjoy the food!
Depending on how much turkey you know your family to eat, aim for 1/2 pound to 1 pound per person, keeping in mind that some of the poundage gets lost in water weight during the baking process.
My all time favorite brand of turkey is Diestel Family Turkey Ranch, as their birds are thoughtfully raised, are never given antibiotics, are fed a quality vegetarian diet, and so much more.
Step 2: Dry Brine Turkey:
If you’re new to dry brining, I wrote a whole guide to it last year. So press pause and go read my tutorial on How to Dry Brine Turkey.
In my humble opinion, the combination of this step and not overcooking the turkey are the two heavy hitters for achieving the best turkey with juicy meat.
To dry brine turkey, remove the thawed turkey from its packaging, and pull out anything that is inside of the cavity (neck, organs, etc.). Place turkey in a large roasting pan, breast side up.
Pat the turkey dry with paper towels and sprinkle the whole turkey (top bottom, sides, etc.) with coarse sea salt or kosher salt. Cover it with the roasting pan lid.
If you don’t own a roasting pan with a lid, line a large baking sheet with plastic wrap, sprinkle the turkey with sea salt, then wrap it tightly in plastic wrap.
Store the turkey in your refrigerator until you’re ready to roast it.
My recommendation is to dry brine your turkey for at least 24 hours, or up to 48 hours before you roast it.
After the dry brine is complete, you may notice some excess liquid in the bottom of the pan. You can leave it or dump it out. What you do with it isn’t consequential.
Step 3: Add some flavor!
Here’s where the garlic butter goodness comes out to play. After the dry brine is complete, remove the turkey from the refrigerator.
I love to inject the turkey with a super delicious combination of melted ghee (or butter), apple cider, garlic powder, onion powder, Italian seasoning, and salt.
If you don’t own a meat injector and/or you feel you won’t get much use out of owning one, don’t feel like this step is mandatory. It isn’t. However, I will say I absolutely love the way turkey turns out when it has been injected.
You can follow my super simple Turkey Injection Recipe for an easy tutorial, or keep reading.
In addition to injecting the turkey, I also rub the outside of the turkey with ghee (or butter), fresh garlic, garlic powder, and salt. This combination results in the most flavorful turkey with amazing crispy skin.
You can see now that the theme of this turkey is a well-seasoned garlic butter delight.
How to Inject Turkey:
If you own a meat injector, put it to great use by injecting the turkey breast with flavor. Blend all of the ingredients for the injecting liquid in a blender.
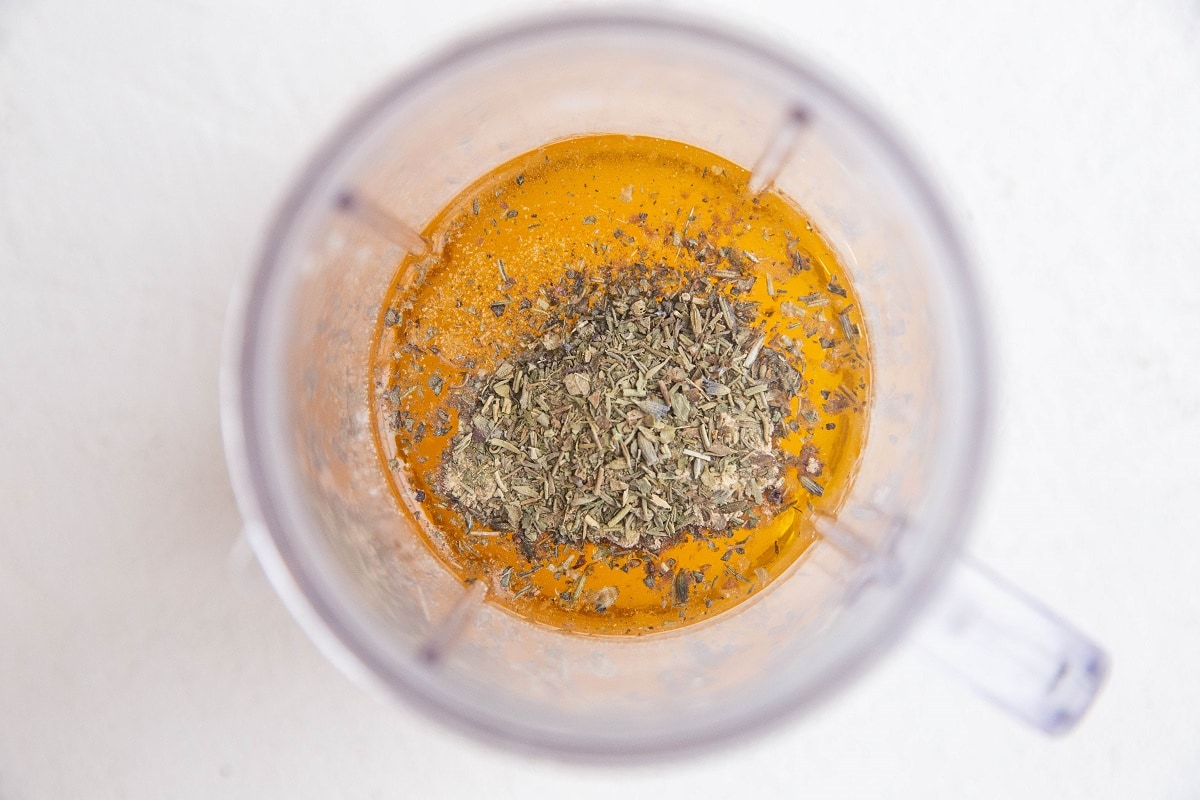
Suck up the liquid with your meat injector, then insert the needle of the meat injector into the bird and inject the breast (and any other part of the turkey) with the liquid until you have used all of it.
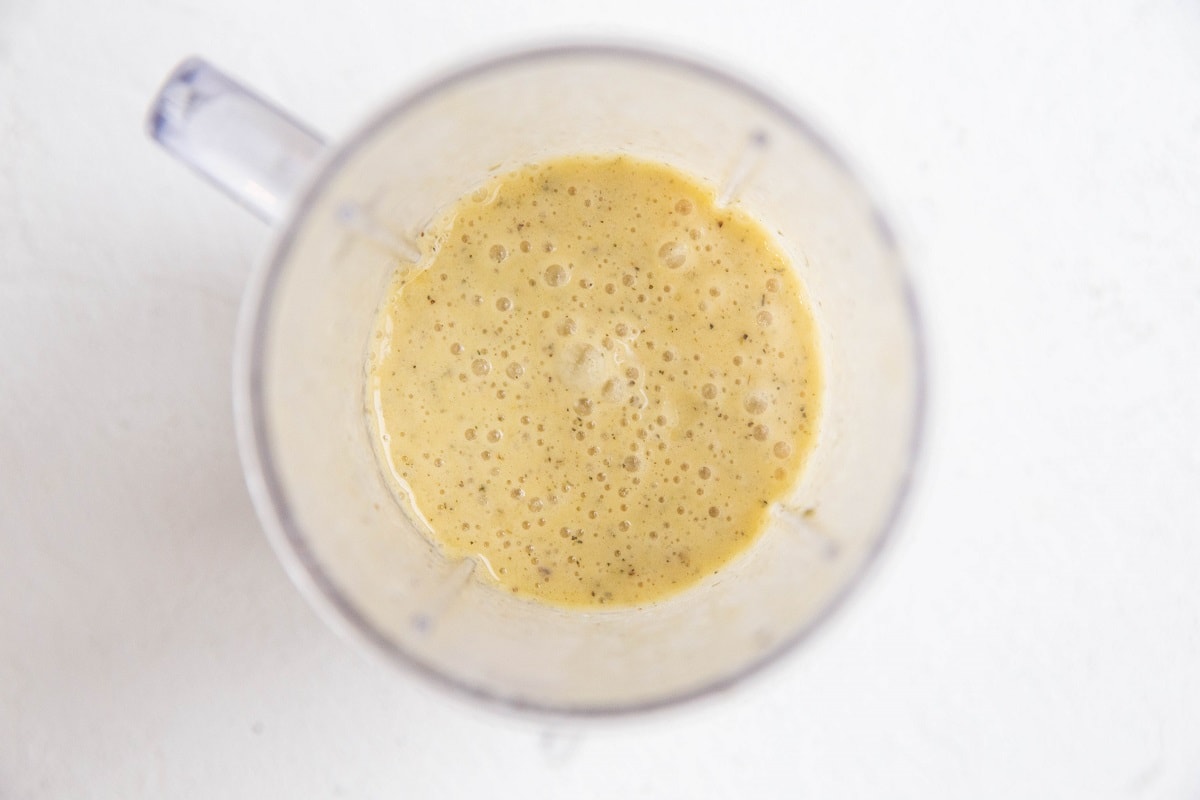
Injecting the turkey serves two functions. It adds fat to the leaner areas like the breast tissue, which makes those areas more flavorful.
Injecting turkey also adds moisture and additional flavors (like garlic, onion, herbs, etc.) to the meat.
This way, you are left with a turkey that contains flavor through and through. Not just the dark meat or the areas that have skin.
Rub the Turkey with Garlic Butter:
Stir together the ingredients for the garlic butter compound butter (ghee, fresh garlic, garlic powder, and sea salt) in a small bowl, then allow it to cool until it is spreadable. You can refrigerate it to speed up the process if you’d like.
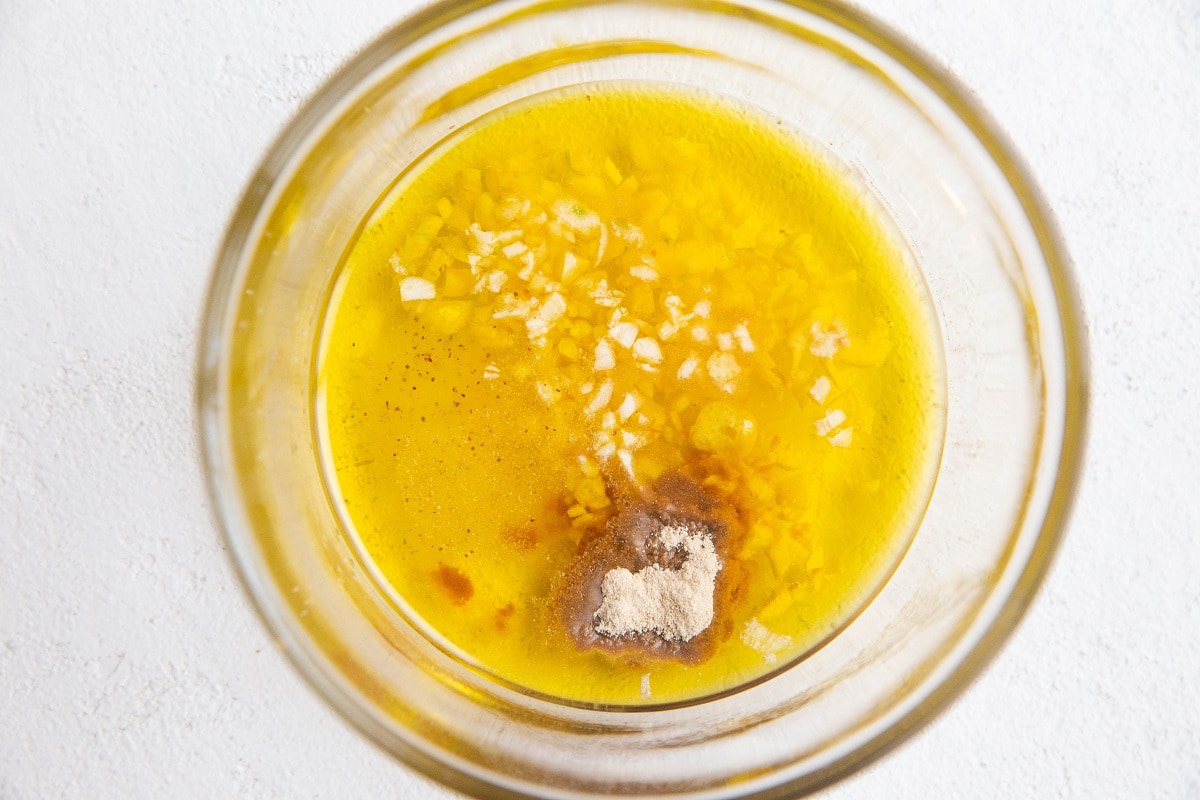
Use your hands to rub all of the garlic butter mixture all over the outside of the turkey.
Note: you can also add fresh herbs to this mixture for garlic herb butter.
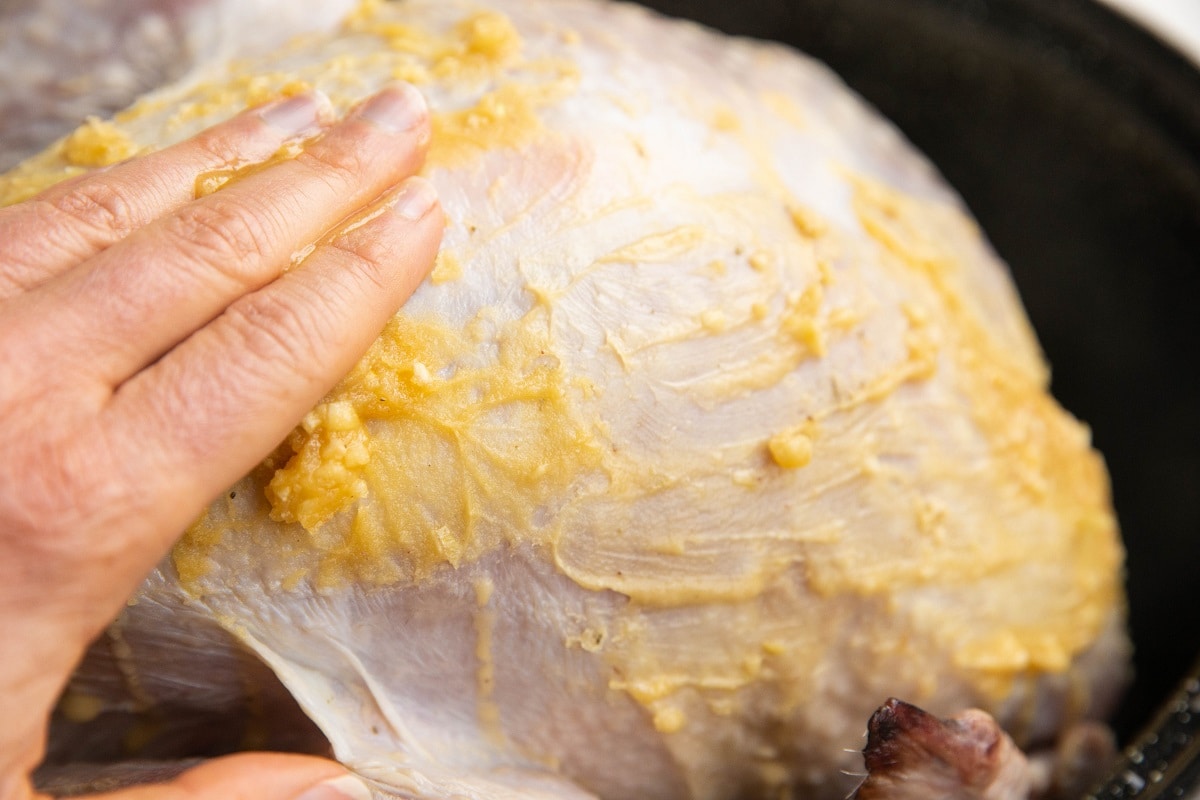
As an alternative to butter or ghee, you can use olive oil, avocado oil, duck fat, or beef tallow.
While a 15-pound turkey only needs about three tablespoons of butter to be fully covered, I tend to use a little bit more just to be sure I’m not skimping on flavor.
You can also add lemon zest, black pepper, fresh herbs, or dried herbs to your homemade garlic herb butter mixture.
Step 4: Roast the Turkey:
Before roasting, stuff the cavity of the turkey with fresh herbs, onion, garlic halves, carrots, apples, lemon halves, etc.
Tie legs with kitchen twine. You can pour 2 cups of chicken broth into the bottom of the roasting pan if you have it on hand, but this step doesn’t make a huge difference one way or another.
Preheat the oven to 350 degrees Fahrenheit. Wrap Cover the roasting pan with aluminum foil so that the foil isn’t directly touching the turkey skin but is securely covering it.
Roast for 1 hour and 30 minutes in the preheated oven, then remove the foil. Use the pan juices at the bottom of the roasting pan to baste the turkey.
Roast for another 40 minutes to 1 hour and 30 minutes (depending on the size of your turkey!), or until it reaches an internal temperature of 165 degrees F.
For deeply golden-brown crispy skin, place your oven on the High Broil setting once the turkey has finished baking and broil it for 3 to 8 minutes, or until the skin of the turkey reaches your desired level of crisp.
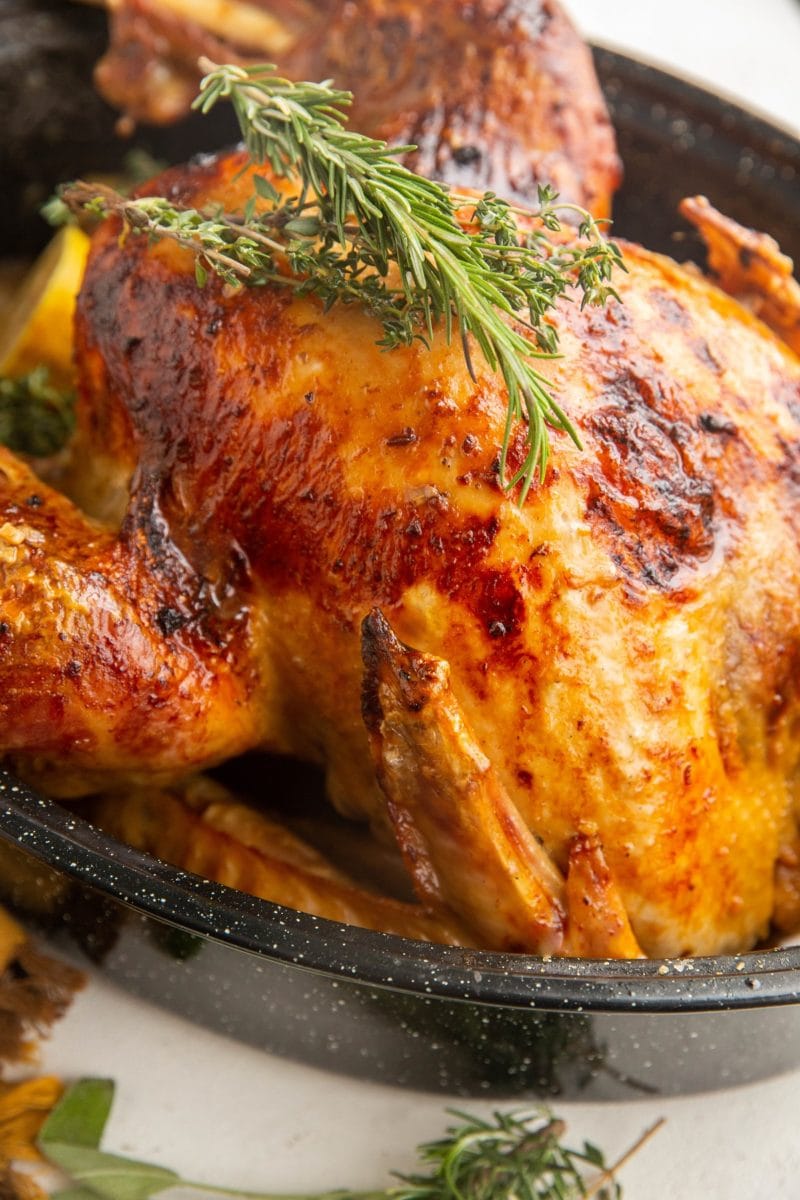
Once the turkey is out of the oven, baste it again using the pan drippings, then allow it to rest for 15 to 20 minutes before slicing it using a sharp knife.
How Long To Roast Turkey:
Roast your Thanksgiving turkey for 10 to 13 minutes per pound of turkey at 350 degrees Fahrenheit. If you’re roasting at 325 degrees Fahrenheit, roast the turkey for about 15 minutes per pound.
In this sense, a 12 to 14 pound turkey will take about 2 ¾ hours and 3 ½ hours, and a 14 to 16 pound turkey will require about 3 ½ to 3 ¾ hours.
There are many factors that affect the total cooking time for a Thanksgiving turkey, the most obvious being how much the turkey weighs and the oven temperature.
In addition to size, the temperature of the bird going into the oven (whether or not it is fresh out of the refrigerator or has been sitting at room temperature for some time) plays a role in the exact cook time.
What is inside the turkey cavity also plays a part in the roasting time.
A lot of volume such as actual stuffing will require a much longer baking time whereas stuffing the turkey with things like onions, carrots, garlic, etc. will require a shorter baking time.
I’ve found the best Thanksgiving Turkey recipe is un-stuffed.
How to Check the Temperature of Turkey:
The best way of ensuring your turkey comes out perfectly juicy is to spot check the temperature starting 45 to 30 minutes before it should be finished using a meat thermometer.
Insert an instant read thermometer (or if you have an oven-safe wireless thermometer, now is the time to use it!) into the thickest part of the breast meat and wait until the numbers stop moving.
You will also need to check the temperature of the thighs by inserting the thermometer into the thickest part of the thigh.
Turkey is considered fully cooked once it reaches an internal temperature of 165 degrees Fahrenheit.
For the best results, the thighs should be around 180 to 200 degrees Fahrenheit, while the breast meat must be 165.
Remember that any large roast will continue cooking after it has been taken out of the oven and will increase in temperature by about 3 to 5 degrees.
For this reason, if you want to be super detailed, you can take the turkey out of the oven when it reaches 160 to 162 degrees.
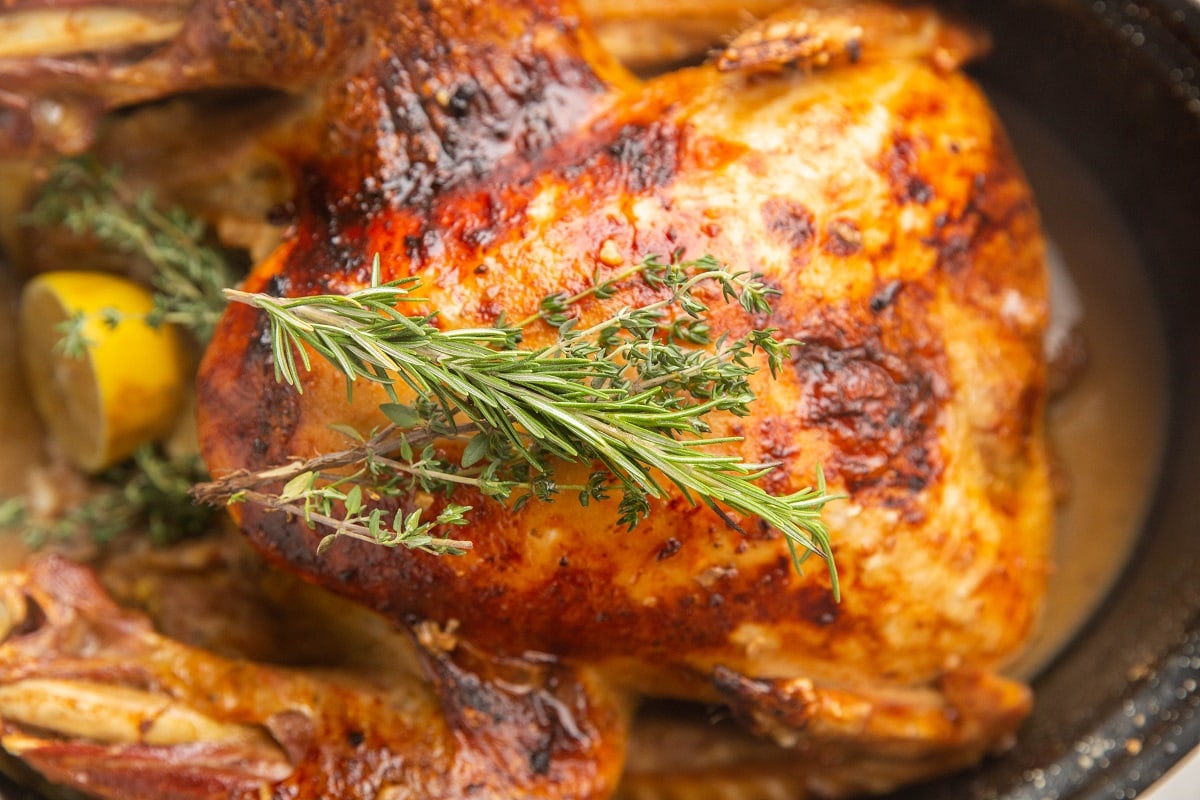
Step 5: Let the Turkey Rest:
Once your turkey has finished roasting, give it at least 15 to 20 minutes to rest. This allows the juices in the meat to redistribute and naturally flow out, leaving you with the best texture.
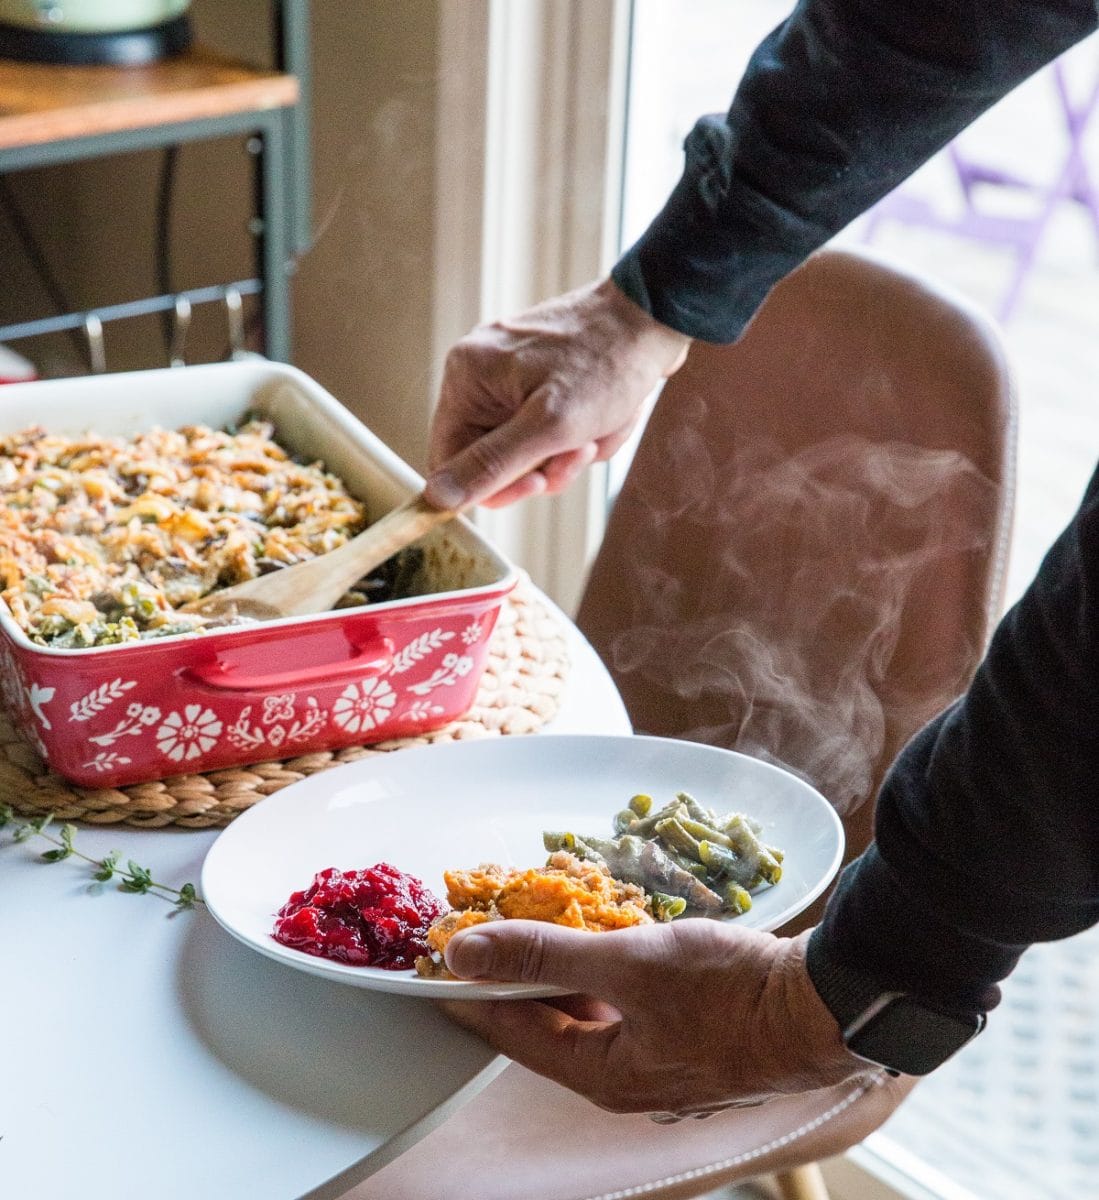
Carve that turkey, and serve it alongside your favorite Thanksgiving Side Dishes!
How to Store Turkey:
If you have leftover turkey, remove the remaining meat from the carcass and store it in an airtight container in the refrigerator for up to 1 week.
Use the bones to make Turkey Bone Broth.
That’s it! You now know everything you need to know to make a delectable, memorable oven roasted Thanksgiving turkey!
If you’re looking for unique flavor options to change up your turkey, also feel free to check out my Orange-Ginger Glazed Turkey for a non-traditional approach to the main dish.
And if you’re looking for side dish suggestions, boy oh boy, do I have recommendations?! Here are my personal favorites.
Thanksgiving Side Dishes:
- Healthy Green Bean Casserole
- Healthy Sweet Potato Casserole
- Big Batch Roasted Vegetables
- Instant Pot Cranberry Sauce with Maple and Ginger
- Caramelized Onion and Roasted Garlic Buttermilk Mashed Potatoes with Parmesan
- Gluten-Free Hawaiian Rolls
I hope you enjoy this easy turkey recipe this holiday season and for all the years to come!
Garlic Butter Roast Turkey
Ingredients
Injecting Liquid (Optional):
- ½ cup apple cider
- ¼ cup melted butter or ghee
- 1 tsp garlic powder
- 1 tsp onion powder
- 1 tsp Italian seasoning
- ¼ tsp sea salt*
Garlic Butter Roast Turkey:
- 1 12 to 15-lb turkey
- 4 Tbsp unsalted grass-fed butter or ghee
- 3 cloves garlic minced
- 1 tsp garlic powder
- 1/2 tsp sea salt*
Instructions
Dry Brine The Turkey
- One to two days before you roast your turkey, dry brine it to bring out the best flavor. To do so, remove the turkey from its packaging and set it inside of a large roasting pan. Pull anything out of the cavity (neck, organs, etc.) then pat the turkey dry with paper towels.
- Sprinkle the turkey liberally with coarse sea salt, making sure to get the top, bottoms, sides, and drumsticks.
- Cover the roasting pan with its lid and refrigerate for 24 to 48 hours.
Optional Step: Inject the Turkey:
- Add the ingredients for the injection liquid to a small blender such as a NutriBullet or Magic Bullet and blend until combined.
- Use your meat injector to suck up the liquid. Inject the liquid into the breast in many different spots until all of the injecting liquid has been used up. Focus the majority of the liquid in the lean meat areas.
Smear Turkey with Garlic Butter:
- Combine the ingredients for the garlic butter (melted ghee or butter, fresh garlic, garlic powder, and salt) in a small bowl. Allow the butter to cool until it is spreadable (speed up this process by refrigerating it for about 5 to 10 minutes).
- Spread the butter all over the entire turkey until it is well-coated.
Roast the Turkey:
- Preheat the oven to 350 degrees Fahrenheit.
- Stuff the turkey cavity with chopped onion, lemon, apples, carrots, celery, fresh herbs or any combination thereof.
- Use kitchen twine to tie the legs together so that they don't bow out during the baking process.
- Cover the turkey with aluminum foil and roast for 1 hour. Remove the turkey from the oven, discard the foil, and baste it well using the drippings at the bottom of the roasting pan.
- Place the turkey back into the oven uncovered and roast for an additional 45 minutes to 1.5 hours (depending on the size of the turkey), or until it reaches an internal temperature of 160 degrees Fahrenheit.
- Remove the turkey from the oven and use a meat thermometer to check the internal temperature. To do so, insert the thermometer into the thickest part of the breast.
- For crispy turkey skin, place the oven on the High Broil setting and broil for 3 to 5 minutes, or until the skin reaches your desired level of crisp.
Let Turkey Rest:
- Allow the turkey to rest for 15 to 20 minutes before slicing and serving. Serve with your choice of side dishes and enjoy!
Notes
- 1 lemon, chopped
- 1 apple, chopped
- 1 onion, chopped
- 3 sprigs thyme
- 2 sprigs rosemary
Nutrition
This post contains affiliate links, which means I make a small commission off items you purchase at no additional cost to you.



Question? Do you rinse the dry brine off before injecting and adding the garlic butter, seems like it would be really salty.
Hi Jill! No rinsing necessary! I factored the salt content into the recipe. There’s only a small amount of salt in both the injection liquid and the garlic butter mixture 🙂 If you’re concerned about the salt content, you can leave the salt out of the garlic butter mixture and the injection liquid. I always recommend using sea salt too, as it tastes less salty than regular table salt (iodized salt). Let me know if you have any other questions!
I’m super excited to try this turkey recipe this Thanksgiving! I will report back on how it turns out. Thank you for such clear instructions!
My pleasure, Courtney! I hope you enjoy it xo