

This post may contain affiliate links. Read our privacy policy.
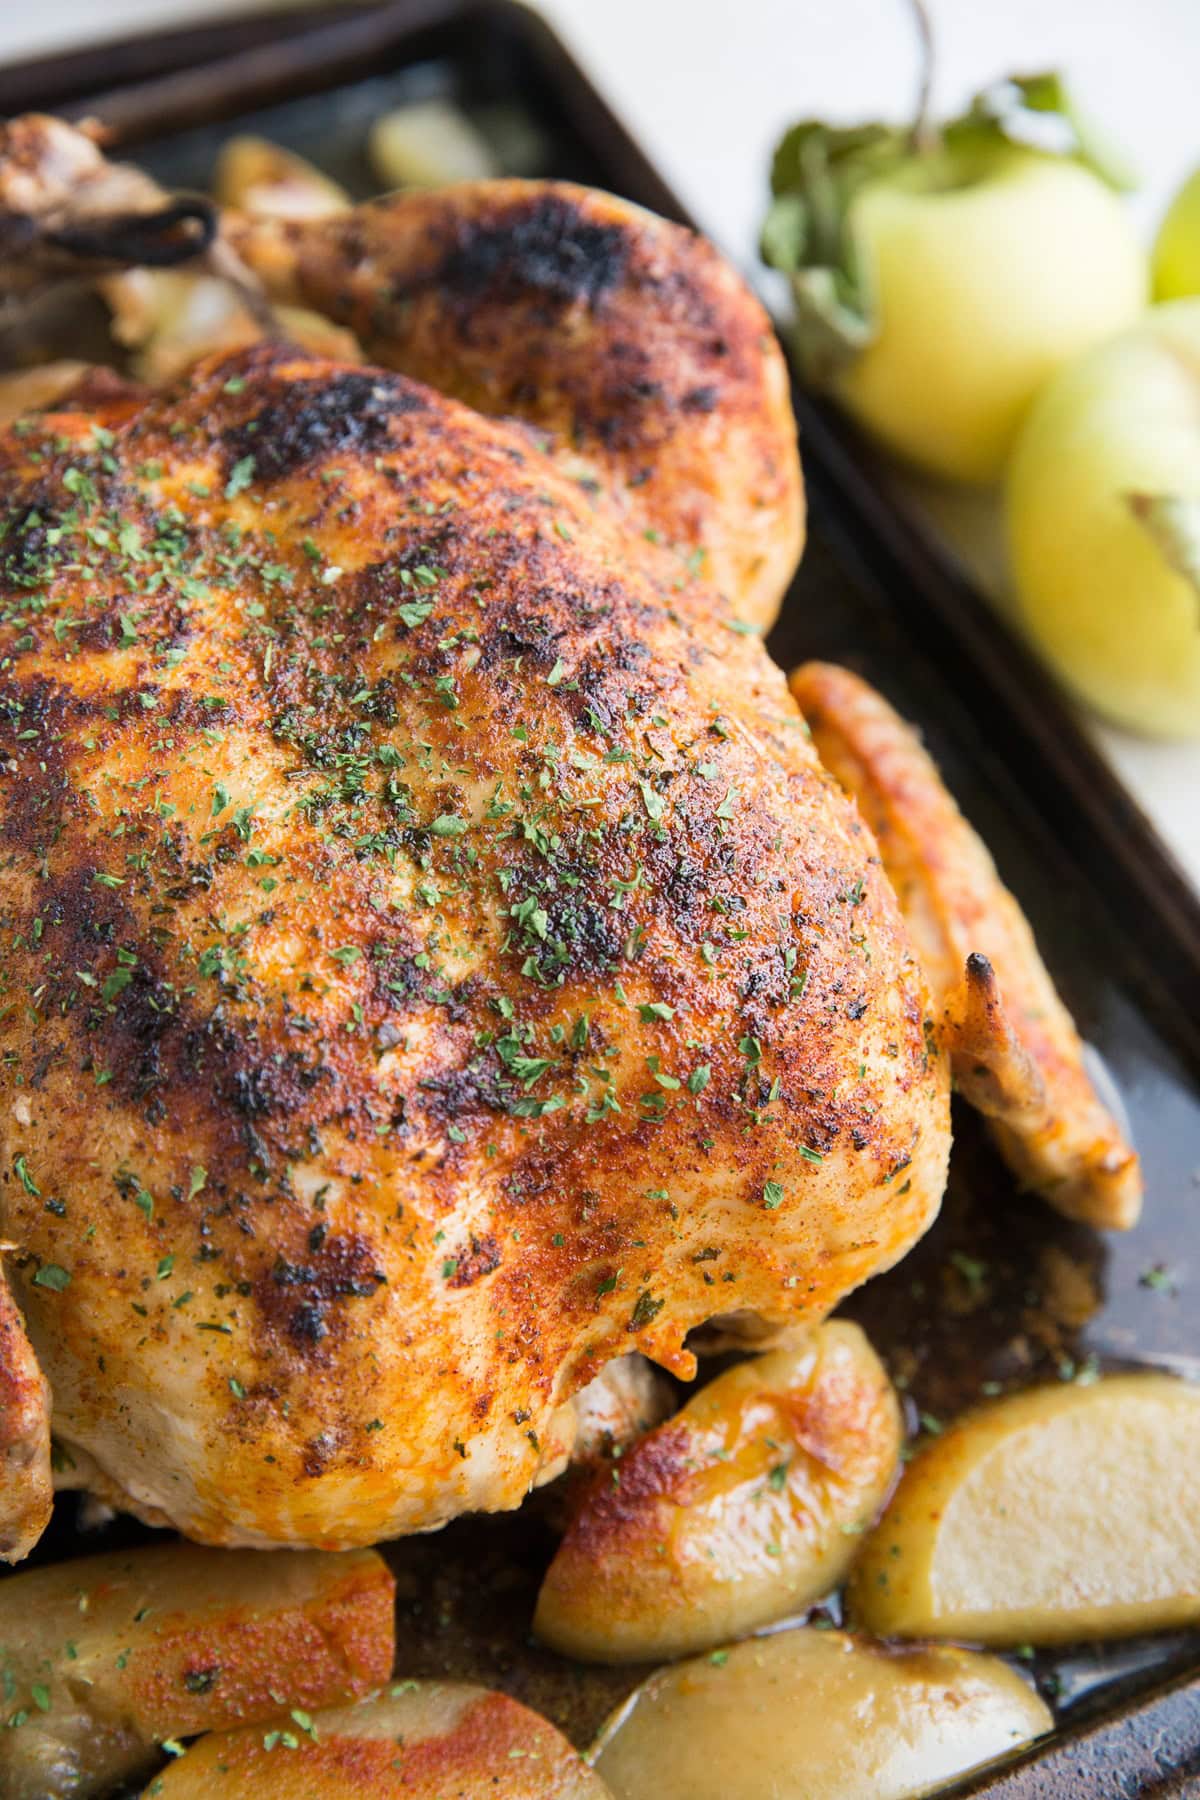
Amazingly tender Instant Pot Whole Chicken couldn’t be any easier to prepare! For those of you who love roast chicken or rotisserie chicken, you’ll love this super straightforward goof-proof recipe that yields a stellar result every single time!
Have you ever made a whole chicken in the electric pressure cooker?
It may sound strange. Perhaps unappealing. You could be thinking to yourself, “Yeah, that’s something I’d never do.”
Trust me on this one. It will change your life.
I love it so much that this is my preferred method for cooking a whole chicken. You’ve seen it before in my Instant Pot Garlic Herb Rotisserie Chicken and my Instant Pot Turmeric Chicken.
The chicken turns out amazingly tender. It falls right off the bone, just like rotisserie style chicken…but even more tender still!
Plus, it’s ready in a fraction of the time.
You will never roast a chicken in the oven again, it’s that good.
If you’re like me and you find boneless skinless chicken to be a real drag, you will absolutely love this Instant Pot Whole Chicken recipe using a whole bird.
So much flavor, so incredibly easy, no second guessing or funny business…it’s just a stick it in the pot and off you go sort of situation.
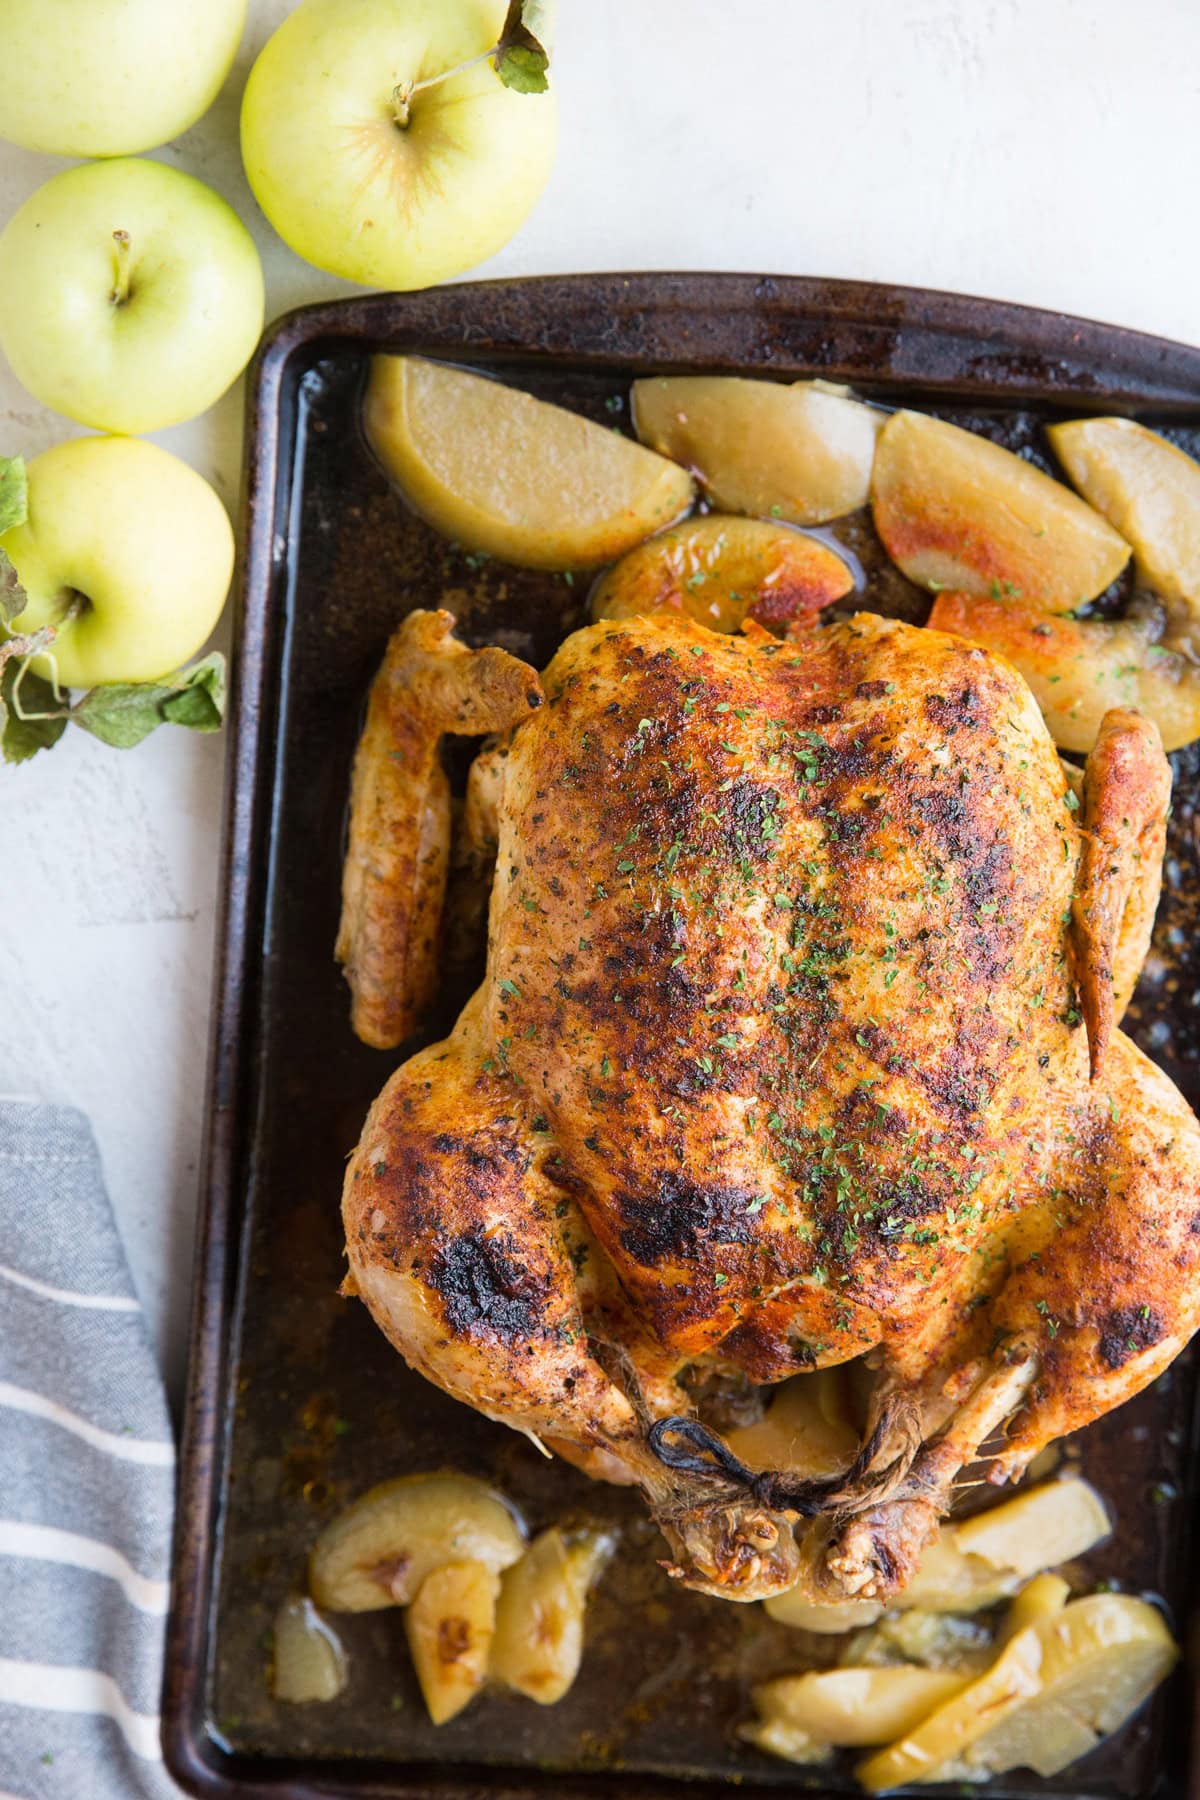
Crispy chicken skin is quite the big deal in my house, as both my partner and I are obsessed with it. For this reason, I take the extra step after pressure cooking the chicken to broil it in the oven for a few minutes to get that crispy skin.
This gives us the best of all worlds – insanely juicy, tender, fall-off-the-bone amazing chicken with that incredible crispy skin.
Ingredients for Instant Pot Whole Chicken:
Whole Body Chicken: The star of the show! Pick up a whole chicken from the grocery store that is between 3.5 and 4.5 pounds. You’ll need to pressure cook the chicken on high heat for 6 minutes per pound.
Be sure the chicken is completely thawed before adding it to the pressure cooker for the best results and to ensure the chicken cooks through.
Apples (Optional): Because I’m a fan of the combination of chicken and apples, I added some chopped apples to the pressure cooker this time around. They become very tender and flavorful and pair nicely with a bite of that crazy tender chicken.
If you aren’t into apples, feel free to skip them! You could do onion if you’d like or just keep it simple and add nothing.
Apple Cider or Chicken Broth: You’ll need two cups of liquid for the pressure cooker to do its job. I used apple cider (not to be confused with apple cider vinegar!!) for the liquid, but you can easily use chicken stock, beef broth or even just water if you don’t have any juice or broth on hand.
Seasonings: Sea salt, paprika, garlic powder, black pepper, and dried parsley. This combination is so simple yet so flavorful! If you have onion powder on hand, feel free to use that as well. You can use any seasonings or rubs you like.
Let’s make it!
How to Make Instant Pot Whole Chicken:
Remove the chicken from its packaging and pat it dry with a paper towel. Pull any giblets out of the cavity of the chicken.
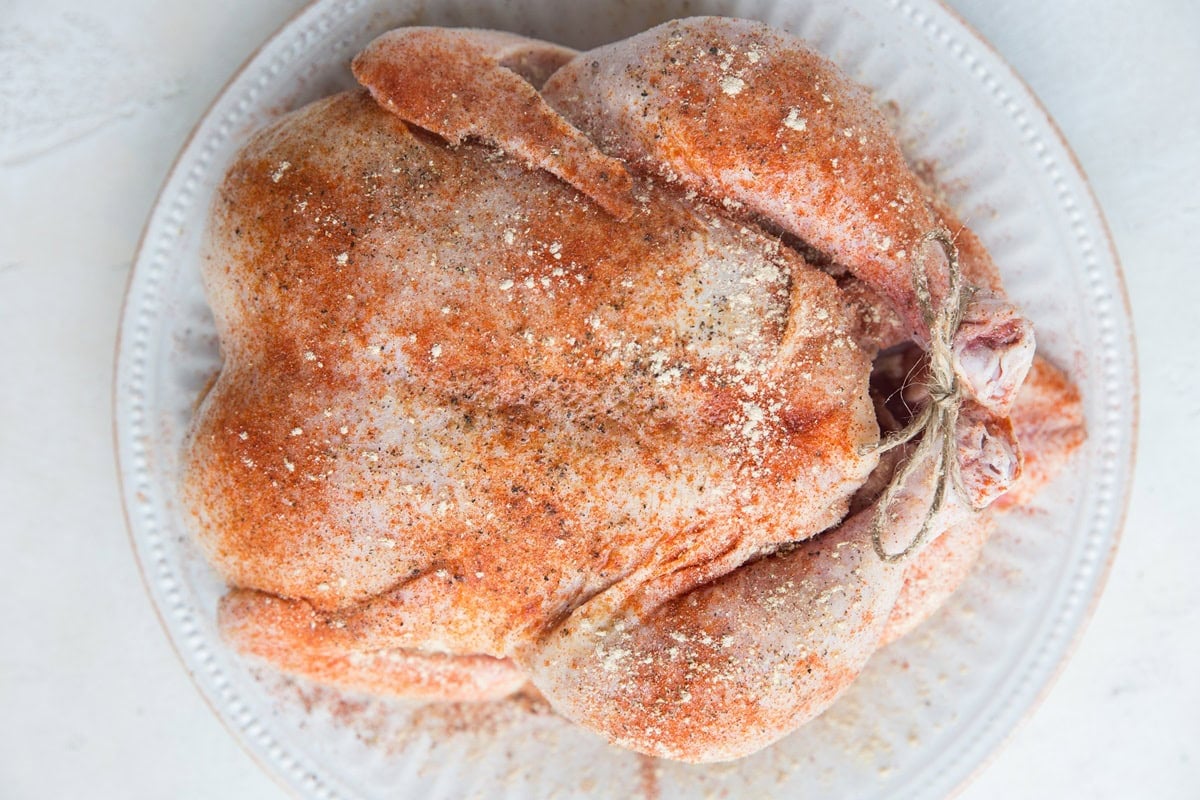
Drizzle the chicken with 1 to 2 tablespoons of avocado oil or olive oil and use your hands to smear it around so that the whole chicken is coated in oil.
Sprinkle the chicken (both sides and all of the edges) with sea salt, paprika, garlic powder, black pepper, and dried parsley.
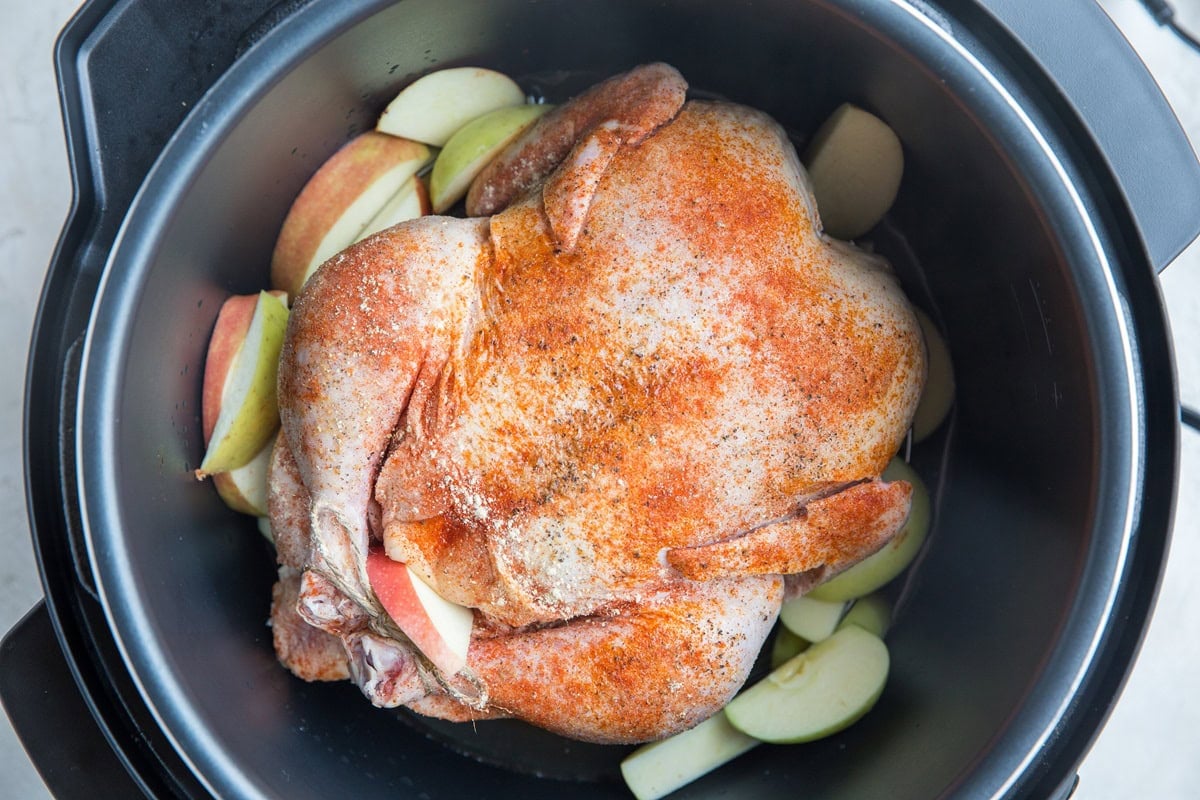
Pour the apple cider (or chicken broth) into the bottom of the pot and insert the trivet. Place chicken on top of the trivet. Add chopped apples and/or onions if you’d like.
Secure the lid on the pressure cooker and press the Manual Pressure or Pressure Cook button.
Adjust the time for 30 minutes (or 6 minutes per pound of chicken) and keep the quick release valve in the sealing position. Make sure your pressure cooker is set to its default mode of High Pressure.
Allow the pressure cooker to run its course – it will take 5 to 10 minutes to heat up before it gets going.
Once the time is up, allow the pressure cooker to naturally release (and go into keep warm mode) for at least 20 minutes. I often let mine go for 40 or 50 for the full natural pressure release.
Note: Chicken is cooked through when it reaches an internal temperature of 165 degrees F. Verify the internal temperature by poking the thickest part of the breast with a meat thermometer.
The exact cooking time depends on the size of your chicken but 6 minutes per pound on high pressure works great for the cook time, with the natural release.
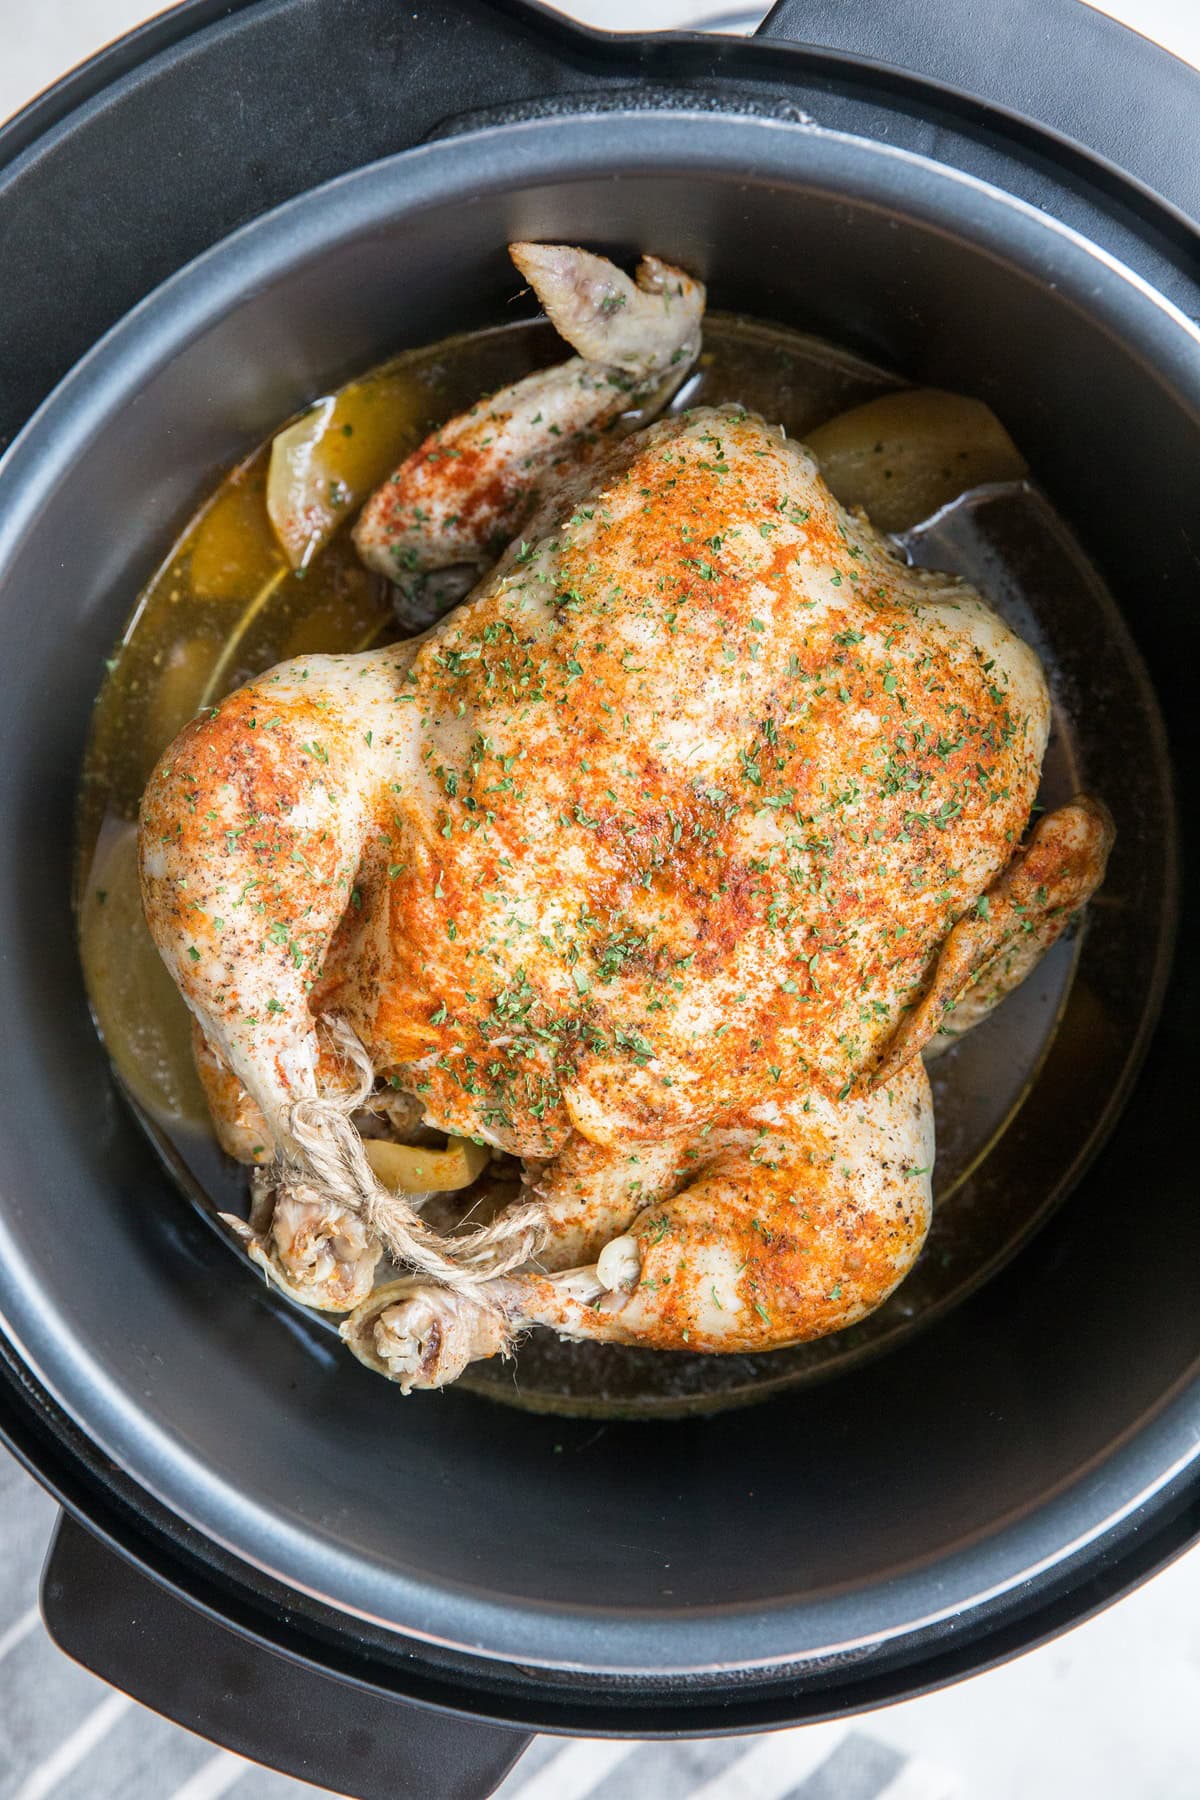
Remember that it is this process that helps make the chicken nice and tender, so while it will be fully cooked after the 30 minutes, for the juiciest, tenderest results, be sure to allow it to go through the natural release process.
Let the meat rest for at least 15 minutes before attempting to move the chicken.
Remove The Whole Chicken From The Instant Pot:
Removing the chicken from the Instant Pot is a bit of a to do. The chicken will be hot, and because it becomes very tender, it will feel like the whole thing will fall apart if you try to pick it up.
I use a spatula to get underneath the chicken to have some leverage to lift it out. I use one hand to pull it up with the spatula and the other hand to stabilize it. Transfer it to a cutting board to serve immediately or to a baking sheet to broil the skin to make it nice and crispy.
If you have an extra person around, one of you can use tongs to grab the trivet that’s underneath the chicken to lift it while the other person removes the chicken from the pressure cooker.
Of course, you can always pick pieces off the chicken while it is still hot in the Instant Pot and then remove the rest of it later as it cools off.
Serve the chicken with the cooked apples and/or onions if you added them along with any side dishes. I’m always game for brown rice and veggies with any animal protein entree.
Engineer a different way to get the hot chicken out of the pot? Let us know in the comments below!
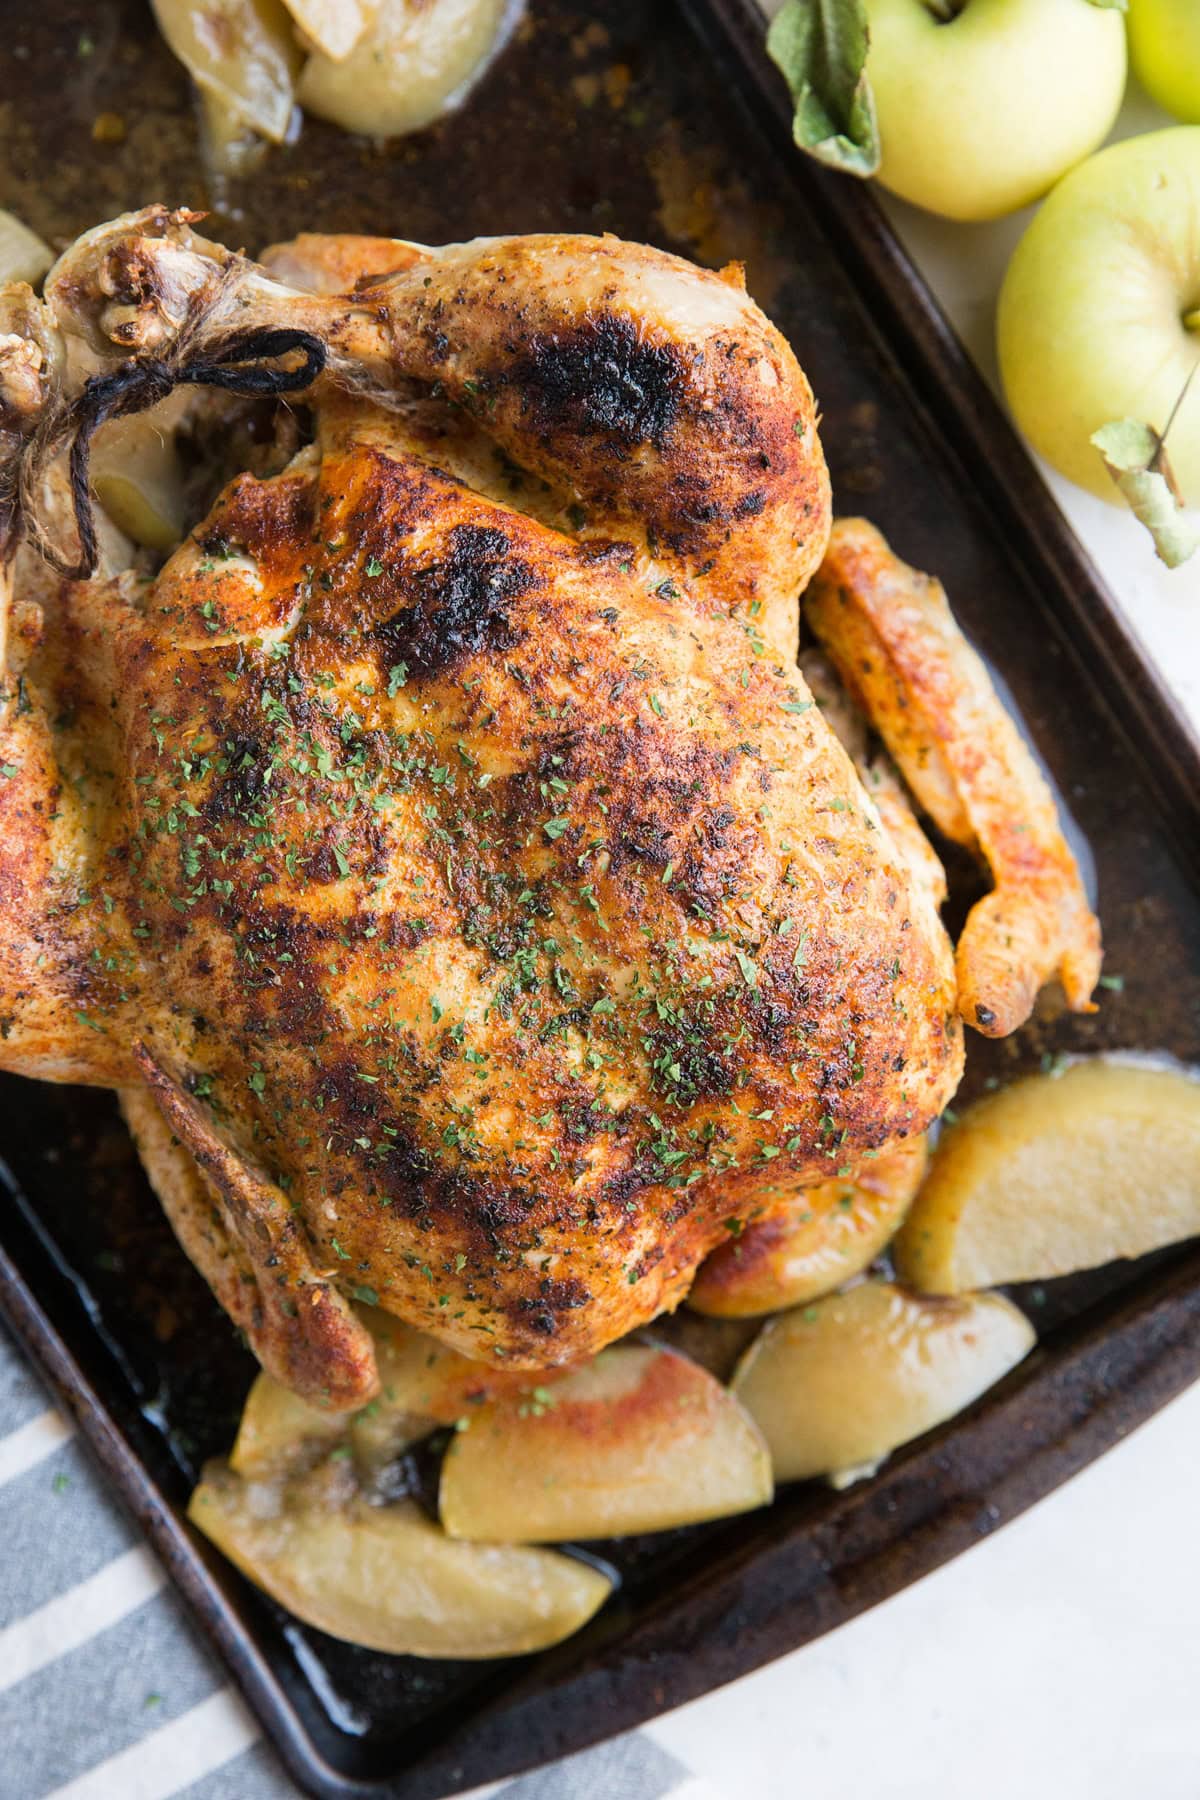
The juices left at the bottom of the Instant Pot are pure gold. You can serve the chicken with the juices or turn it into gravy if you’d like.
For Crispy Chicken Skin:
When you cook skin-on chicken in the pressure cooker, whether it be a whole chicken or chicken pieces, the skin turns out soft, even if you sear the chicken before pressure cooking it.
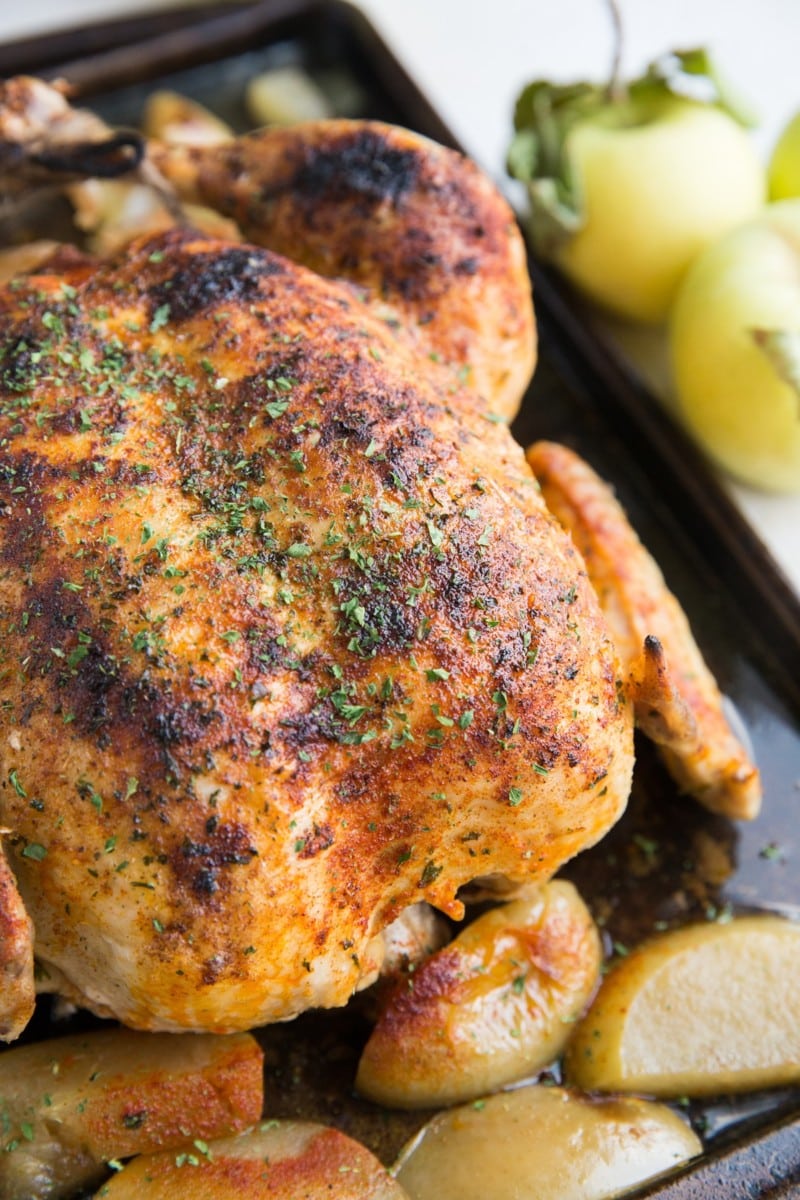
For those of us who love crispy chicken skin, get this! You can easily achieve crispy skin by broiling the chicken in the oven after it is finished in the pressure cooker.
Simply transfer the whole chicken to a large cookie sheet, turn your oven on the high broil setting, and place the chicken on the shelf that’s second from the top for 5 to 8 minutes, or until the skin is golden brown and has reached your desired level of crisp.
Store leftover meat in an airtight container in the refrigerator for up to 7 days.
I love making chicken salad or chicken soup using leftover chicken.
That’s it! Everything you need to know about making the perfect, finger-lickin-great Instant Pot Whole Chicken! This is a fabulous meal prep recipe and also perfect for feeding the whole family.
Let me know how you like it, and if you change it up to use different seasonings or ingredients, let me know what you try!
If you love Instant Pot recipes, also try my Instant Pot Paleo Pumpkin Chili, Instant Pot Beef Stew, and my Instant Pot Steak and Potato Soup!
Instant Pot Whole Chicken forever!
Instant Pot Whole Chicken Recipe
Equipment
Ingredients
- 1 whole chicken, 3.5 to 4.5 lbs
- 1 Tbsp avocado oil
- 1 1/2 tsp sea salt
- 2 tsp garlic powder
- 1 1/2 tsp Paprika
- 1 1/2 tsp Dried parsley
- 1/2 tsp black pepper
- 2 cups apple cider juice, or chicken broth*
- 2 large apples, chopped, optional
Instructions
- Remove the chicken from its packaging and pat it dry with a paper towel. Reach into the bird's cavity and remove any organs. Drizzle the chicken with 1 to 2 tablespoons of avocado oil and use your hands to smear it around so that the whole chicken is coated in oil.
- Sprinkle the chicken (both sides and all of the edges) with sea salt, paprika, garlic powder, black pepper, and dried parsley.
- Pour the apple cider (or chicken broth) into the bottom of the Pressure Cooker , add the apples and any veggies (such as onion, carrots, etc) and insert the trivet. Place the chicken on top of the trivet.
- Secure the lid on the pressure cooker and press the Manual Pressure or Pressure Cook button. Adjust the time for 30 minutes (or 6 minutes per pound of chicken) and keep the pressure valve sealed. Allow the pressure cooker to run its course – it will take 5 to 10 minutes to heat up before it gets going.
- Once the time is up, allow the pressure cooker to naturally release (and go into keep warm mode) for at least 20 minutes. I often let mine go for 40 or 50 for the most tender result.
- If you love crispy chicken skin, transfer the chicken to a baking sheet and place your oven on the High Broil setting. Place the chicken on the rack that's second from the top and broil for 5 to 8 minutes, or until the skin has reached your desired level of crisp.
- Serve with your choice of side dishes and enjoy!
Notes
Nutrition
Nutrition information is automatically calculated, so should only be used as an approximation.
Like this recipe? Rate and comment below!












I’ve made this 3 times and since I don’t eat the skin its so easy! I refrigerate the meat for subsequent meals AND the broth too – last time I added a little extra broth because its so tasty! When I refrigerate the broth all the fat rises to the top and the rest congeals – which to me shows there so much good stuff (collagen perhaps?) In any case its deeply satisfying.
I added a lemon 🍋 in with the apples. Also I used the liquid to cook rice in the instant pot. Easy meal, just add a salad and vegetable.
Will my 4 quart instant pot accommodate a small chicken?
Hi Michele! I imagine it is possible! I haven’t tested this myself, so it is difficult to know without having done it myself. If it were me, I would do a test run by placing the packaged chicken inside of the pot to see if it fits. There should be a little bit of room around it, but as long as it looks like it fits, I would imagine you’re good to go. Let me know if you have any other questions!
Hi! This recipe just arrived in my inbox. My son is stopping by unexpectedly for dinner tonight so I’m gonna make this! Question – do the apples make it sweet? think I’ll use chicken broth instead of the apple juice. I prefer a savory instead of sweet chicken. What do you think?
Hi Anne! The apples and apple juice do produce a somewhat sweet flavor, but to me it isn’t overpowering. There are enough savory elements to the meal to keep it a savory dish, although I do recommend omitting the apples and using chicken broth if you have any concern 🙂 Let me know if you have any other questions!
I have made this twice already! I’m on high-protein diet after bariatric surgery and having prepared proteins is important to me. This recipe is SO EASY. I don’t add vegetables but I do season the chicken with spice blends. I don’t eat the skin but I do rub the skin with the seasoning onto the cooked chicken. So many variations! AND… I use low sodium packaged chicken bone broth in the IP then after the chicken is done I refrigerate the liquid. The liquid gelatinizes in the fridge and any remaining fat is easy to remove. The broth picks up additional chicken flavor and is loaded with collagen. I heat it up and drink it plain. Absolutely wonderful!
Thank you so much for the thorough review, Abby! I love that the bones in the chicken release collagen and cause the broth to become gelatinous for an infusion of extra nutrients…it truly is a miracle recipe! I’m thrilled it has worked out so well for you after surgery! Warm and well wishes to you! 🙂
Well I used acv in a rush when I didn’t have any broth and it smells gross in my house. I don’t normally skim the story telling but I did this time and boy do I regret it! I’m sure it would have been amazing. Tired mom mistakes.
What is ACV? So sorry it wasn’t good.
ACV is apple cider vinegar 🙂 A few people have mistaken apple cider juice for apple cider vinegar and have used vinegar to cook the chicken. I made clear notes to use the juice throughout the post and in the recipe card, but it continues to be an issue. I don’t want to change the recipe because I myself use apple cider to cook the chicken, but I’m tempted to remove it so that there isn’t another error in the future.
Hi there! In addition to the “story telling” section, I mention this distinction specifically in the recipe card as well. There is an asterisk next to “apple cider juice” and a note that states: “Please note that apple cider is not the same thing as apple cider vinegar. Use apple cider (similar to apple juice), not vinegar. You can also use chicken broth, beef broth, vegetable broth, or water. Please do not use vinegar.” I do appreciate that you called out that you made a mistake.
I am making this again because the first time was perfect! So much easier than prepping and roasting in the oven. My trick for getting out the chicken – my InstantPot came with a wire rack with handles – I use those to carefully lift the chicken into a wide bowl. This is a terrific recipe and its definitely on repeat!
I love that your IP came with a wire rack that has handles! It seems like the company got better and better over time at anticipating usage, so it’s lovely knowing there is an easy solution to removing the chicken. I’m thrilled to hear you enjoy the recipe, Abby! Thank you for sharing!
In order to lift the chicken out of the trivet easily take a piece tinfoil and fold it in quarters to make a thin band long enough to go completely around the chicken. Then place the chicken in the pressure cooker with the tinfoil under it and the ends of the tinfoil on top of the chicken. When you open the pressure cooker you can just grab each side the tinfoil strip and lift the chicken out.
This is super creative, Lisa! Thanks for sharing this great idea!
Just took it out of Instant Pot and it smells divine! I’m crisping the skin now, but what are your recommendations for the liquid left over after the chicken is cooked? Any ideas?
Hi Kristy! I’ve heard a lot of people use the liquid and the leftover bones to make bone broth. Aside from that, you can use the liquid to pour over the chicken when serving or use it as a broth for soup 🙂 So thrilled you made this recipe, as it’s one of my favorites!
Brilliant recipe, fitting for such a brilliant appliance!
I used the trivet that came with my Duo, it has two handles and lifted the chicken out very easily.
That’s great that it came with a trivet with handles! My older model left me on my own, but it’s great to know other models have a useful solution to pulling the chicken out 🙂 Thanks for sharing, Liesie!
You asked about an easier way to remove the cooked chicken from the Instant Pot — If you place the chicken on a trivet with handles, it’s a lot easier to remove using the handles (use mitts to protect your fingers, of course).
Love that! I didn’t realize there were trivets with handles, so I’ll go on a hunt now! Thank you so much for sharing, Shirley! 🙂
Excited to try this this evening! I plan on putting onions carrots and potatoes in the bottom. Should I adjust cook time for this? Or is the 6 minutes per lb of chicken the correct timing even with lots of veggies? Thanks!
Hi Elaine! This is a great question. I haven’t added veggies myself, so I don’t have a lot of expertise other than knowing veggies would likely require much less time than the chicken. I think the best option would be to cook your vegetables separately, or else they will likely be very soft by the end of cooking. If it were me, I would roast those carrots and potatoes, or make a batch of mixed roasted veggies. I hope you love the chicken, and let me know if you have any other questions!
ah got it so the apples and optional veggies are just for flavor. Thanks! Turned out delicious.
excellent chicken, and didn’t need stick of butter! My first time in insta pot
I’m happy to hear you enjoyed it, Betsy! I love how flavorful and tender the chicken turns out too 🙂
Greetings from England.
How to remove the chicken from the pot, easy, use butchers cotton twine, cheap and available on line or at local stores selling cooking/baking equipment.
Take a piece approx. 40 inches long, tie the two ends together to form a loop, you want the loop to be as long as the chicken plus approx 5 inches at each end ( for the handles ) pass the loop through the body, I have done this with such as a chopstick, skewer or similar, leaving a loop at each end to act as handles.
It also comes in handy for making a stuffed boned joint of meat with your own home made stuffing mix, stuffed fish, I sometimes make small individual stuffed rolled joints, flattening such as poultry breasts so everyone has a miniature individual roast joint of their plate, it doesn’t take much time but looks quite posh, especially if you have two per person say one pork and one chicken.
Finally, for trussing poultry, I used to do it the old way until I came across this way…..https://www.youtube.com/watch?v=G2leEwcDhXo&t=139s……and as he says it appears to cook more evenly. ??
Thanks so much for a thorough tutorial, Bill! This is super helpful to others who want to make the recipe. I appreciate you taking the time to share!